
Building and maintaining an FPV drone requires more than just buying the right parts—you also need to know how to solder them together. Soldering is the backbone of drone assembly. A single weak solder joint can cause signal loss, motor desync, or even a mid-air crash. On the other hand, clean and strong soldering ensures reliable power delivery, long-lasting connections, and safe flights.
In this 2026 FPV soldering guide, we’ll cover everything you need to know—from the essential tools and materials to step-by-step soldering techniques, common mistakes, safety precautions, and even pro-level tricks. Whether you’re just starting out or already an experienced FPV pilot, this guide will help you achieve professional-level results.
👉 Explore FPV drone parts on MEPSKING to build the cheapest FPV drone.
Essential Tools for FPV Soldering
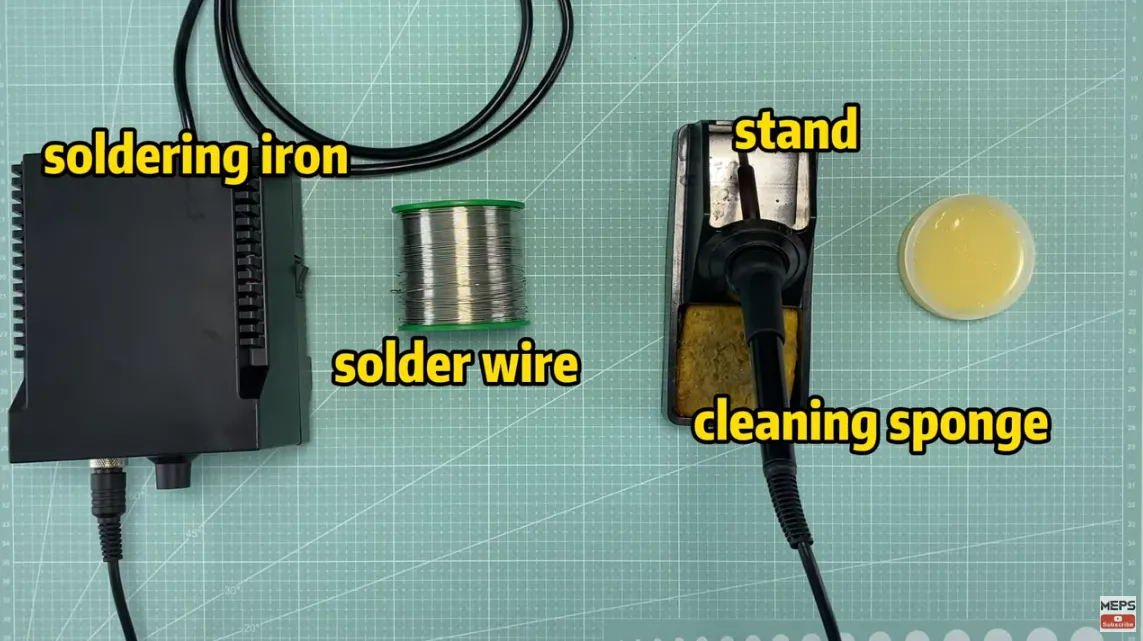
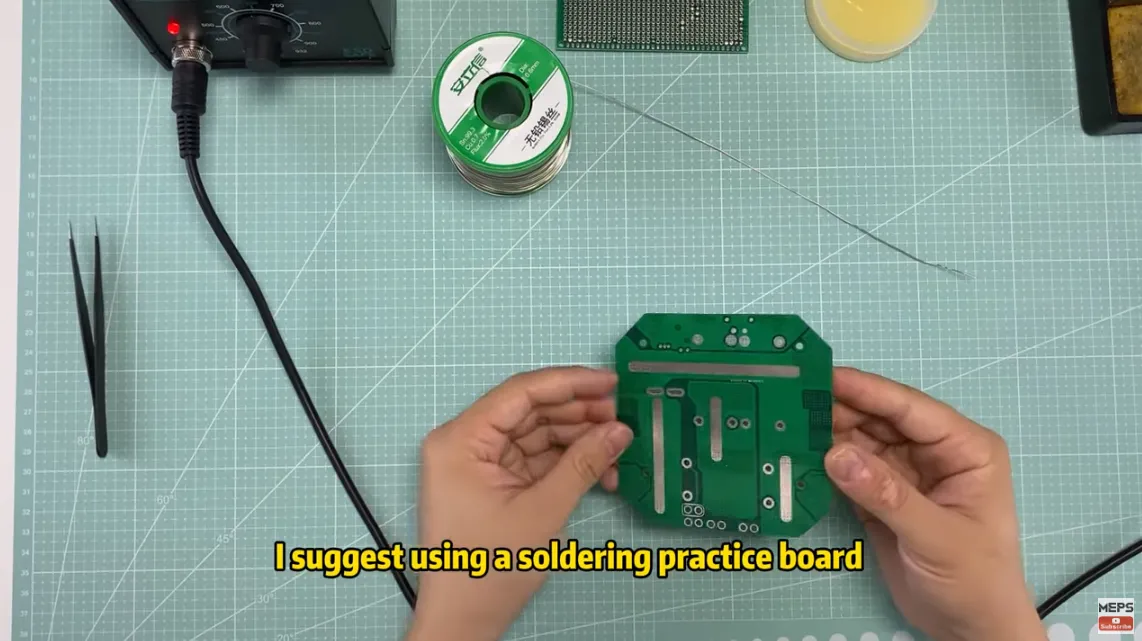
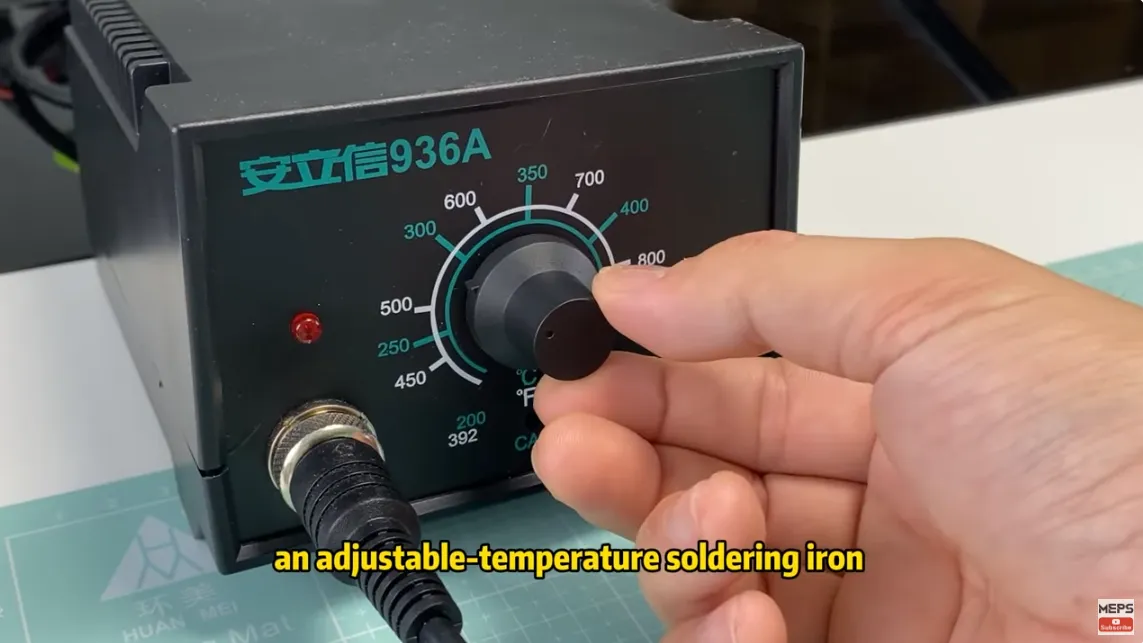
Before diving into the soldering process, it’s essential to familiarize yourself with the necessary tools. From left to right, you’ll need a soldering iron, solder wire, a cleaning sponge, and a stand. Opting for an adjustable-temperature soldering iron is recommended, as higher wattage leads to faster heating. Additionally, choose solder wire with built-in flux for optimal results. Beginners may find it helpful to practice soldering on a soldering practice board.
Soldering Iron / Soldering Station
A temperature-controlled soldering iron is the most important tool in your kit.
- Recommended Temperature Range: 350–400℃ (662–752℉).
- Tip Shapes:
- Conical tip → precision work (signal wires, small pads).
- Chisel tip → power pads (ESC, battery leads).
Solder Wire
The type of solder wire you choose affects the ease of soldering and the quality of your joints.
| Type | Melting Point | Pros | Cons | Best For |
|---|---|---|---|---|
| Sn63/Pb37 | ~183℃ | Low melting point, shiny joints, beginner-friendly | Contains lead, not eco-friendly | Beginners, ESC pads |
| Lead-free | ~217℃ | Safer, RoHS compliant | Requires higher heat, harder to flow | Advanced builders, eco-conscious users |
Pro Tip: For beginners, Sn63/Pb37 is easier to use and produces more reliable joints.
Flux & Desoldering Tools
- Flux: Helps solder flow evenly and prevents oxidation.
- Desoldering Pump/Wick: Useful for removing excess solder or fixing mistakes.
Extra Accessories
- Tweezers and a magnifying glass for precision.
- “Third hand” tool for holding wires and components.
- Heat shrink tubing and electrical tape for insulation.
Recommended Soldering Temperature for FPV Drones
Using the correct soldering temperature is essential for creating strong and reliable solder joints. If the temperature is too low, the solder will not melt properly, leading to weak connections. If it’s too high, you risk damaging the PCB pads.
Achieving Proper Solder Flow
One of the most important factors in FPV drone soldering is ensuring that the solder melts and flows properly onto the pads and wires. Many weak solder joints occur because the soldering iron temperature is too low, preventing the solder from fully melting and bonding with the metal surfaces.
For reliable connections, the solder must flow smoothly and cover both the pad and the wire. When the temperature is insufficient, the solder may appear dull or grainy, which is a common sign of a cold solder joint.
Optimal Temperature for Solid Solder Joints
Proper temperature control is essential for creating strong and durable solder joints. Different components on an FPV drone require slightly different temperatures because of variations in pad size and copper thickness.
- Flight controller pads: typically require around 300–350°C
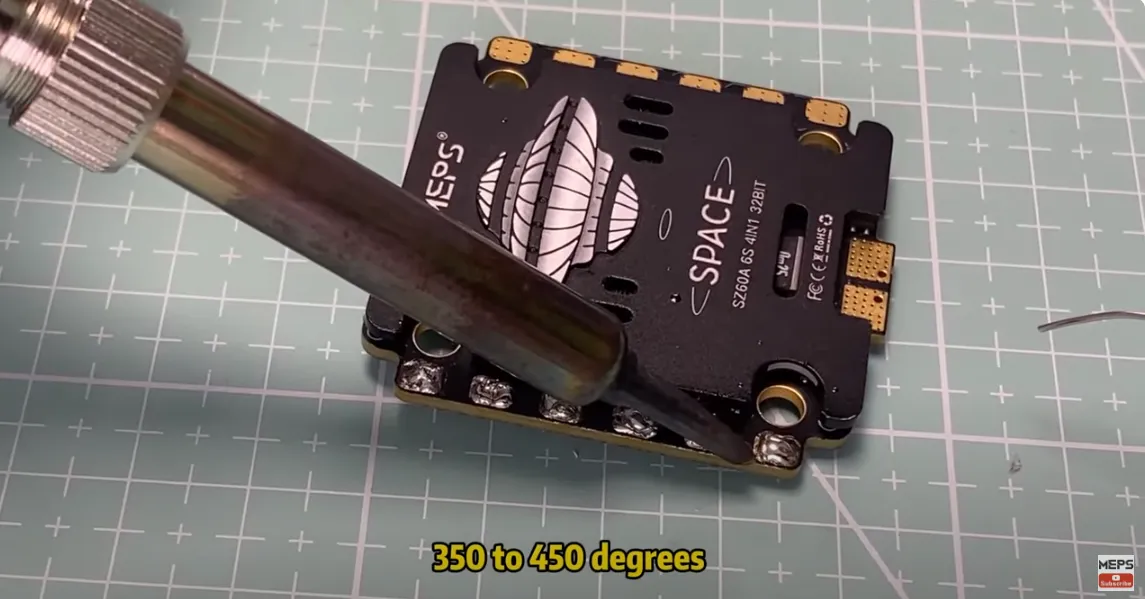
- ESC pads: usually need 350–450°C due to their larger copper surface
- Small signal pads (VTX or receiver): generally work best around 320–340°C
Using the correct temperature ensures that the solder melts quickly, forms a clean bond, and reduces the risk of damaging sensitive components.
FPV Soldering Temperature Chart
| Component | Temperature |
|---|---|
| FC Pads | 300–350℃ |
| ESC Pads | 350–450℃ |
| Battery Leads | 380–420℃ |
| VTX Pads | 320–340℃ |
FPV Wire Gauge Guide
Choosing the correct wire gauge is important for safe current flow and efficient power delivery.
| Component | Wire Gauge |
|---|---|
| Motors | 26–28 AWG |
| ESC Signal | 28–30 AWG |
| Battery Leads | 12–14 AWG |
| VTX | 28–30 AWG |
Step-by-Step FPV Drone Soldering Guide
Step 1: Prepare Your Soldering Setup
Before soldering any FPV drone components, it’s important to properly prepare your soldering setup. Good preparation ensures better heat transfer and cleaner solder joints.
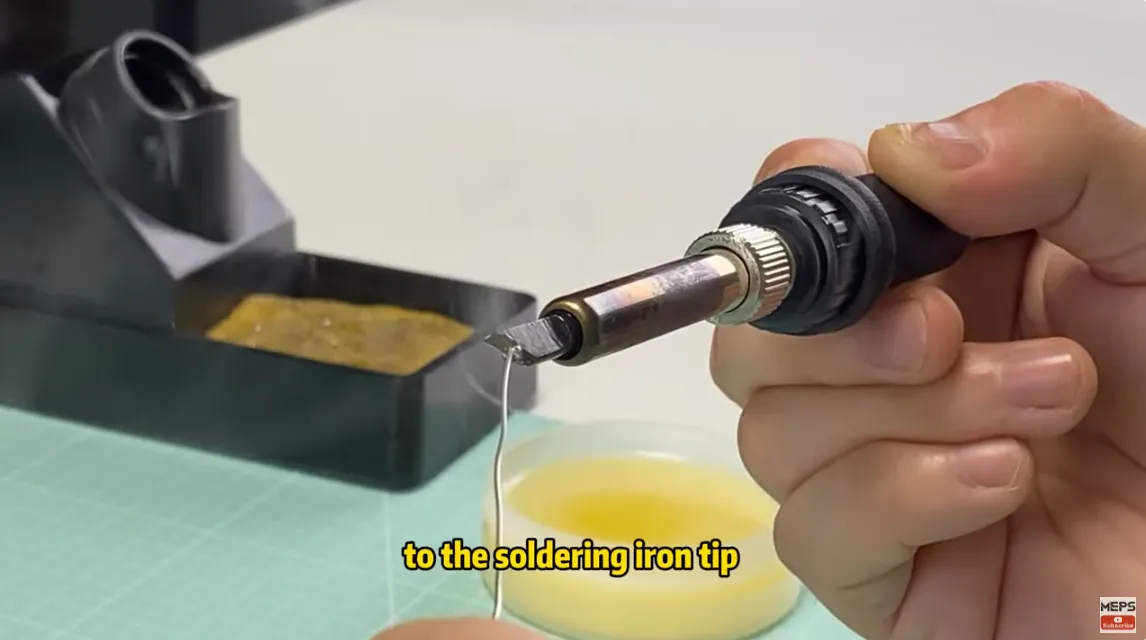
- Start by cleaning the soldering iron tip using a damp sponge or brass wool. A clean tip improves heat conductivity and helps the solder flow smoothly.
- Next, add a small amount of solder to the tip. This process, known as tinning, helps transfer heat more efficiently from the iron to the pad and wire.
- Then set the correct soldering temperature, typically between 350–400℃ for most FPV drone components. Larger pads such as ESC or battery leads may require slightly higher temperatures to heat the copper properly.
- Finally, tin both the wires and the pads before joining them. Pre-tinning ensures that the solder melts quickly and forms a strong, reliable electrical connection when the wire is placed on the pad.
Step 2: How to Solder Motors to ESC
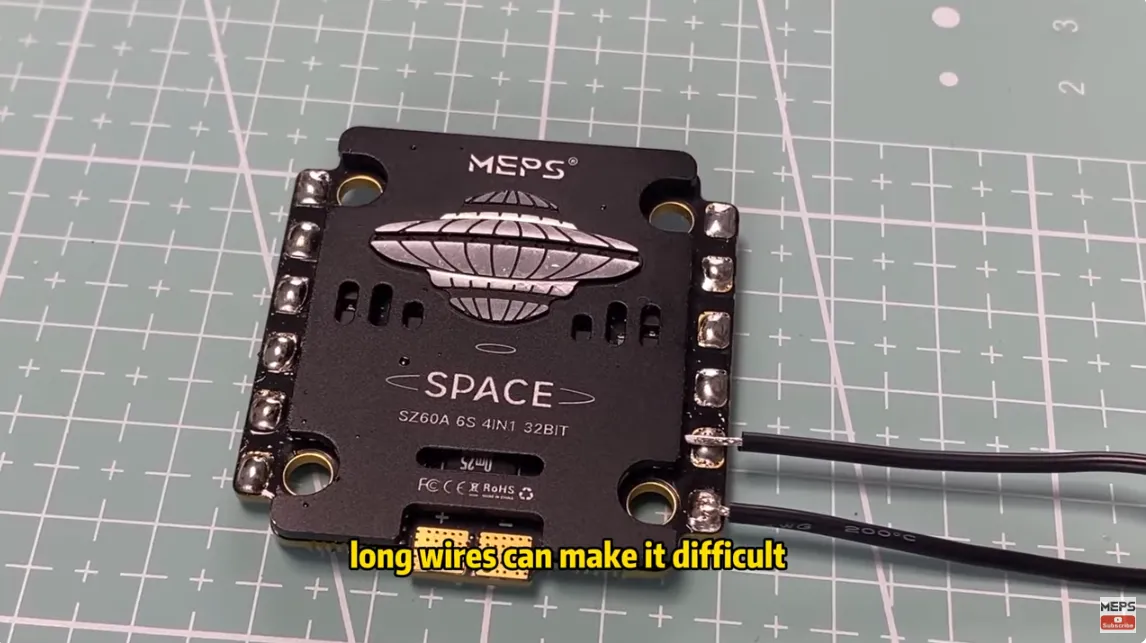
- Cut FPV motor wires to the correct length—too long adds weight, too short causes tension.
- Tin the ESC pads and wires before joining.
- Press wire to the pad, apply heat briefly, then remove.
Step 3: How to Solder ESC to Flight Controller
- Use silicone wires (they’re heat-resistant and flexible).
- Double-check polarity and signal wire mapping.
- Secure wires with tape or zip ties to prevent strain.
Step 4: How to Solder Battery Leads
- Use thicker gauge wires for battery leads (12–14 AWG).
- Add a low-ESR capacitor near the battery pads to reduce voltage spikes and protect electronics.
- Make sure to reinforce with heat-shrink tubing.
Step 5: How to Solder VTX and Receiver
- These pads are small and delicate—use a fine soldering tip.
- Apply flux to help prevent bridging.
- Avoid overheating to protect sensitive chips.
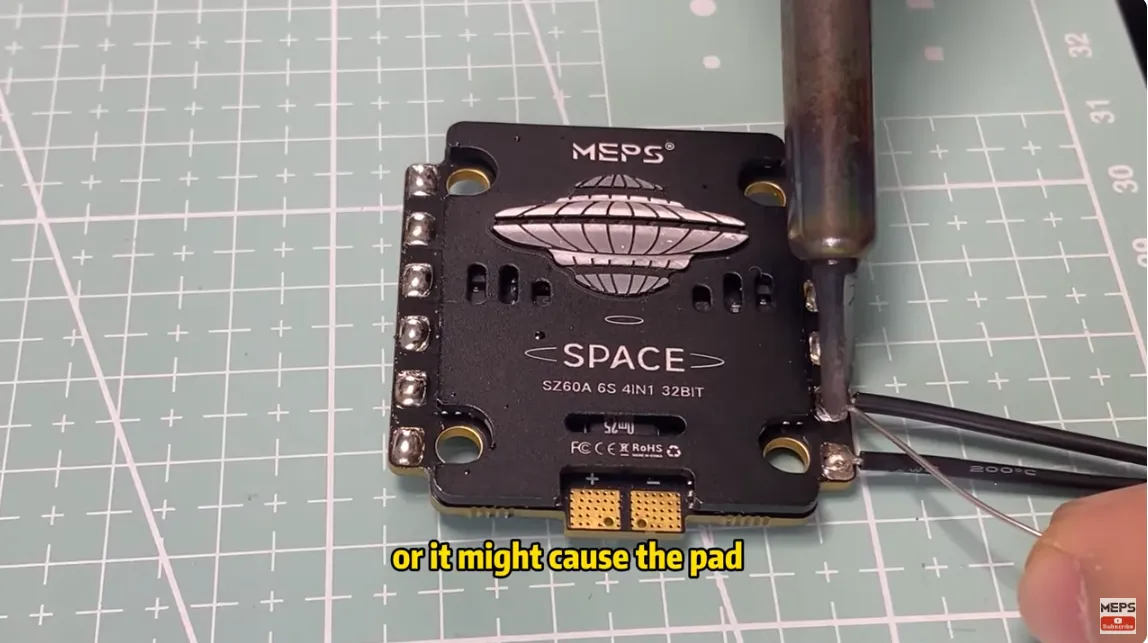
Step 6: Avoid Prolonged Heat Exposure
To prevent damage to the pads and achieve perfect joints, avoid keeping the soldering iron on a single pad for too long. Prolonged heat exposure can cause the pad to detach, making it difficult to fix. Once the solder has melted, release the iron promptly to ensure a perfect joint.
By following these key points and practicing proper soldering techniques, you can achieve solid solder joints essential for reliable electrical connections in your FPV drone build.
Common FPV Soldering Mistakes and How to Fix Them
Cold Joints
- Signs: Dull, grainy appearance, weak connection.
- Fix: Reheat with proper temperature, add flux, and let the solder flow smoothly.
Excess Solder
- Signs: Large blobs of solder, potential short circuits.
- Fix: Use desoldering wick or a pump to remove extra solder.
Overheating Pads
- Signs: Pad lifts from the PCB, component damage.
- Fix: Lower the temperature, limit contact time to 2–3 seconds per joint.
Safety Tips for FPV Drone Soldering
- Work in a well-ventilated area or use a fume extractor.
- Always return the soldering iron to its stand—never leave it unattended.
- Wear safety glasses to protect against splashes.
- Never solder with a LiPo battery connected to the circuit.
Pro-Level FPV Soldering Tips (2026 Edition)
Once you’ve mastered the basics, these advanced tips will improve durability and make repairs easier.
- Soldering Ultra-Thin Wires: Use low heat and fine tips when working with VTX and receiver signal pads.
- Fixing Lifted Pads: Bridge the connection using jumper wires.
- Reinforcement: Use heat-shrink tubing or UV glue to strengthen joints and reduce vibration-related stress.
- Wire Management: Route wires neatly to avoid interference and airflow blockage.
FPV Drone Soldering Checklist
Before powering on your FPV drone for the first time, take a few minutes to double-check all solder connections. A quick inspection can prevent electrical failures, short circuits, or even mid-air crashes.
Use this checklist to make sure everything is properly soldered and ready for flight:
✔ All solder joints are shiny and smooth
A good solder joint should look bright and slightly rounded. Dull or grainy joints may indicate a cold solder joint and should be reheated.
✔ No solder bridges between pads
Inspect closely to ensure that solder is not accidentally connecting two pads, which could cause a short circuit.
✔ Battery leads are firmly attached
The battery pads carry high current, so make sure the wires are securely soldered and cannot move.
✔ Wires are secured with heat shrink or zip ties
Proper wire management helps reduce vibration and prevents wires from pulling on delicate solder pads.
✔ Capacitor polarity is correct
If your build includes a low-ESR capacitor, double-check that the positive and negative leads are connected to the correct pads.
Taking a few extra moments to verify these points can significantly improve the reliability and safety of your FPV drone build.
FAQ
1. What is the best soldering iron for FPV drone building in 2026?
A temperature-controlled soldering iron with at least 60W of power is recommended. Popular choices include Hakko, TS100/TS101, or Pinecil.
2. What temperature should I use for soldering FPV motors?
350–380℃ is ideal. For thick power wires, you may go up to 400℃.
3. How do I avoid cold solder joints?
Always tin wires and pads, use flux, and apply the iron until solder flows smoothly.
4. Can I use lead-free solder for FPV drones?
Yes, but it requires higher heat and more skill. Beginners usually prefer Sn63/Pb37 solder.
5. How do I repair a broken solder pad on a flight controller?
Use a jumper wire to reconnect the signal or power trace to another pad or component pin.
Conclusion
Soldering is a core skill in FPV drone building. Strong joints ensure efficient power delivery, clean signals, and safe flights. With the right tools, preparation, and practice, anyone can achieve professional results—even as a beginner.
If you’re upgrading your FPV build in 2026, make sure you also use high-quality components. A perfect solder job is only as good as the parts you connect.