If your Betaflight flight controller is not connecting, 80% of the time it’s a USB cable or driver issue.
- Always use a data-capable USB cable, update STM32/CP210X drivers, and check COM ports in Device Manager.
- If you see “Betaflight failed to open serial port,” try DFU mode, full firmware re-flash, or close other apps locking the port.
- As a last step, use STM32CubeProgrammer or a different PC.
In this guide, we’ll cover the most common causes of Betaflight not connecting to your flight controller and explain step-by-step how to fix them.
👉 Explore the collection of FPV Flight Controller on MEPSKING.

What is Betaflight?
Betaflight is an open-source firmware for flight controllers that allows FPV pilots to configure, tune, and optimize their drones. It powers the majority of FPV builds today, offering advanced control, customization, and access to multiple Betaflight flight modes. Without a proper connection to Betaflight Configurator, you cannot update firmware, configure PID settings, or troubleshoot your quad effectively.
Why is It Important to Connect Your Flight Controller to Betaflight?
Connecting your flight controller to Betaflight allows you to:
- Update or flash firmware for bug fixes and new features.
- Configure PID tuning, OSD, and Betaflight flight modes.
- Troubleshoot errors such as “Betaflight failed to open serial port”.
- Check motor outputs, receiver inputs, and sensor status.
For pilots running digital FPV systems or newer Betaflight versions, choosing an F4 or F7 flight controller with native USB support is strongly recommended.
Common Reasons Why Betaflight is Not Connecting
Many FPV pilots encounter “Betaflight not detecting drone” or “flight controller not connecting to Betaflight” during setup. The main causes are:
- Using a charge-only USB cable instead of a data cable
- Outdated or missing STM32/CP210X drivers
- Incorrect or blocked COM port
- A failed or interrupted firmware flash
- Software conflicts on your computer (other programs using the same port)
- Power issues with the flight controller
Sometimes, you may even see the error “Betaflight failed to open serial port”, which almost always points to a driver or port issue.

If your flight controller is detected by your computer but still refuses to connect to Betaflight, the issue may not be drivers or cables at all. In some cases, the real problem is that the board itself is no longer supported by current Betaflight releases.
It’s worth checking what boards Betaflight no longer supports, especially if you’re using an older F3 or legacy flight controller.
Troubleshooting Steps
If your flight controller is not connecting to Betaflight, try the following troubleshooting steps:
| Issue / Question | Cause | Solution |
| USB not recognized | Driver missing or faulty cable | Try another data USB cable; install Zadig / ImpulseRC Driver Fixer |
| Cannot enter DFU mode | Boot button not pressed or driver conflict | Hold boot button while plugging USB; reinstall STM32 DFU driver |
| Betaflight “Failed to open serial port” | COM port conflict or cable issue | Close other apps using COM port; reconnect cable; check Device Manager |
| Firmware flash fails | Wrong target selected or unstable USB connection | Confirm correct FC target; use full chip erase; try another USB port |
| Stuck in boot loop | Wrong firmware or bad flash | Reflash correct firmware with full erase |
| Board not powering via USB | No 5V from port or blown fuse | Try another port/PC; power with LiPo + USB; check if FC fuse is burnt |
| “No gyro detected” | Wrong firmware or hardware issue | Reflash with correct firmware; if still fails, gyro may be faulty |
| Configurator can’t connect | Wrong baud rate or driver | Use default 115200 baud; reinstall CP210x/CH340 driver |
Check the USB Cable and Port
Not all USB cables are created equal. Many are designed only for charging and cannot transfer data. If Betaflight is not connecting, the first thing to test is your cable.
- Use a data cable: Many USB-C and Micro-USB cables are power-only and won’t transfer data.
- Test with your phone: Plug your phone into the PC with the same cable to confirm file transfer works.
- Avoid USB hubs: Always use a direct motherboard USB port.
- Inspect for damage: Replace frayed or broken cables.
Pro tip: 80% of connection issues are caused by the wrong USB cable.
Install or Fix Your Drivers
If the cable is fine but your flight controller is still not connecting to Betaflight, the next step is drivers. Make sure you have the latest drivers installed for your flight controller. You can download the drivers from the manufacturer’s website.
- STM32 VCP Driver – for most F4/F7 flight controllers.
- CP210X Driver – for controllers using the CP2102 chip.
- ImpulseRC Driver Fixer – an automatic tool that detects and fixes DFU driver problems.
- Zadig Utility – use this if your device shows as “Unknown Device” in Device Manager.
How to check in Windows:
- Open Device Manager.
- Expand Ports (COM & LPT) or Universal Serial Bus Devices.
- Verify your FC is listed correctly. If not, reinstall drivers.
To check if you have the latest drivers installed, follow these steps:
- Open Device Manager.
- Expand the “Universal Serial Bus Devices” section.
- Right-click on your flight controller and select “Properties”.
- Click on the “Driver” tab.
- If the driver version is not the latest version, you will need to update it.
To update the drivers, follow these steps:
- Click on the “Update Driver” button.
- Follow the on-screen instructions to update the drivers.
If you are having trouble updating the drivers, you can try using a driver updater tool.

Check for Power and COM Port Issues
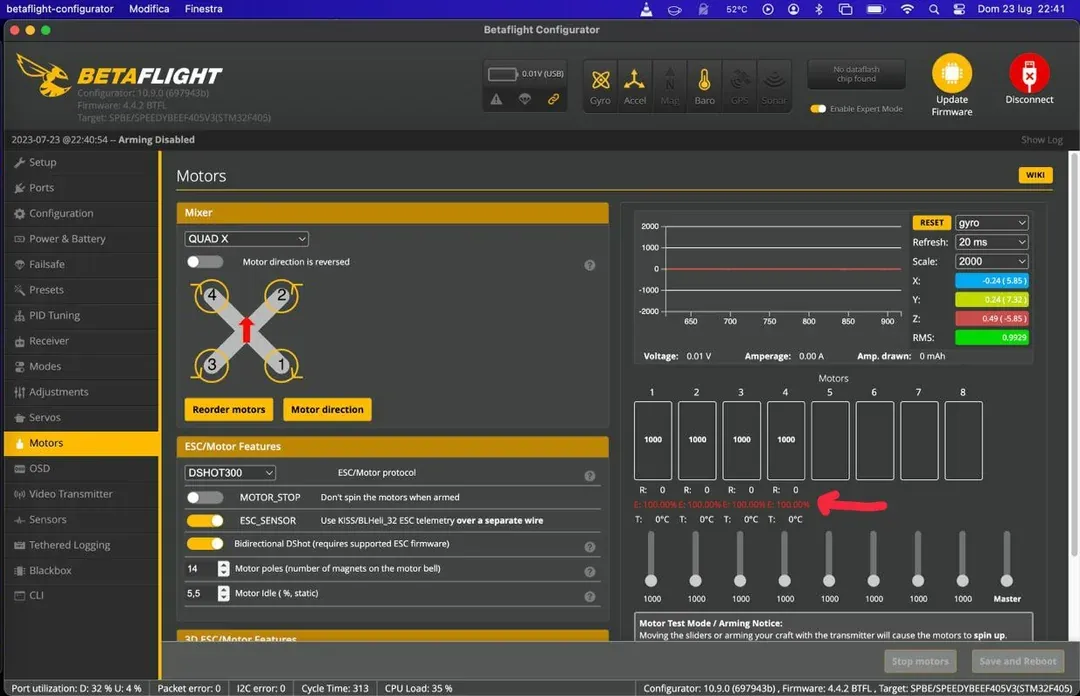
When you plug in your FC via USB, look for indicator lights—if none turn on, your flight controller may not be receiving power. In Betaflight Configurator, make sure you’ve enabled “Show all serial devices” under settings. This sometimes reveals hidden ports.
If you see “Betaflight failed to open serial port”, double-check your Device Manager. The FC should appear under Ports (COM & LPT). If it doesn’t, your driver is still not working, or your cable/port is faulty. Closing other programs (such as Arduino IDE, 3D printer software, or logging tools) can also help, since they sometimes lock the same COM port that Betaflight needs.
To check if you are connecting your flight controller to the correct port, follow these steps:
- Look for a port on your computer that is labeled “USB” or “Serial.”
- Connect your flight controller to the port.
- Open Betaflight.
- If your flight controller is connected, it will appear in the Betaflight interface.
Update the Firmware
If you have tried all of the above steps and your flight controller is still not connecting to Betaflight, you may need to update the firmware. You can download the latest firmware from the manufacturer’s website.
To update the firmware, follow these steps:
- Download the latest firmware from the manufacturer’s website.
- Unzip the firmware file.
- Connect your flight controller to your computer.
- Open Betaflight.
- Click on the “Firmware” tab.
- Select the firmware file you downloaded.
- Click on the “Upload” button.
Once the firmware has been uploaded, your flight controller will restart.

Enter DFU Mode for Firmware Flashing
If you’re flashing firmware and see “Betaflight failed to open serial port”, you may not be in DFU mode.
- Press and hold the Boot button while connecting USB.
- If there’s no button, short the Boot pads with tweezers during connection.
- In Betaflight Configurator, check if the COM port changes to DFU.
Fix Firmware Flashing Problems
If your FC connects sometimes but not reliably, the issue may be the firmware. An incomplete or corrupted flash can prevent Betaflight from detecting the board. The solution is to re-flash the firmware:
- Open Betaflight Configurator and select the Firmware Flasher tab.
- Enter bootloader mode (some boards require pressing a “boot” button while plugging in).
- Select the correct flight controller target (check your FC’s documentation).
- Choose “Full chip erase” before flashing.
- Once flashing is complete, reconnect and verify.
If this process fails, try using the STM32CubeProgrammer tool directly, which can recover boards stuck in bootloader mode.
Eliminate Software Conflicts
- Close programs like Arduino IDE, 3D printer software, or other serial tools.
- Restart your PC after installing drivers.
- In Betaflight Configurator → Settings → enable Show all serial devices.
Check for Hardware Damage (No Lights)
When you plug in the USB, look at the LED lights on the flight controller.
- If the lights turn on, your 5V USB circuit is good.
- If the board remains completely dark, your 5V regulator or USB diode is burnt. Workaround: Try plugging in a LiPo battery (WITH PROPS OFF) while connected to USB. If it connects now, your USB power circuit is dead, but the FC is still flyable.
Reset the Flight Controller
If you have tried all of the above steps and your flight controller is still not connecting to Betaflight, you may need to reset the flight controller. To do this, hold down the reset button on the flight controller for a few seconds.
Hardware Diagnosis via FC LED Status Lights
When you plug your USB cable into the drone, the flight controller’s onboard LEDs are your first line of defense. Most modern FCs have a solid Red LED for power, and a Blue or Green LED for system status.
Flight Controller LED Diagnostic Table
| LED Status | Physical Diagnosis | Expert Fix / Next Step |
| Completely Dark (No Lights) | No Power / Short Circuit. The USB port is broken, the cable is dead, or the onboard 5V/3.3V LDO regulator is burnt. | Swap the USB cable immediately. Try plugging in a LiPo (PROPS OFF!). If it lights up with a LiPo but not USB, the USB diode is fried. |
| Only Red Light is On (Solid) | MCU Not Booting. The board has power, but the processor isn’t running the firmware. Usually stuck in DFU mode or bricked. | Check if the physical Boot button is jammed. If not, you must re-flash the correct firmware target in Betaflight. |
| Red is Solid, Blue/Green is Blinking | System is Running Properly. The FC hardware is fine and passing its internal checks. | The hardware is good. The connection failure is caused by your computer’s USB drivers or software conflicts. |
| Red is Solid, Blue/Green is Solid | Initialization Freeze. The FC is stuck trying to boot up due to a hardware conflict on the I2C or UART bus. | Unplug all peripherals (GPS, Receiver, VTX) and try connecting a “naked” FC to isolate the bad component. |
| Faint or Flickering Lights | USB Power Overload. Your peripherals are pulling more than the 500mA your computer’s USB port can provide. | Unplug from any USB hubs and plug directly into the back of your motherboard. Alternatively, plug in a LiPo to assist with power. |
Decoding Betaflight’s Connection Status
Once you know what the hardware is doing, look at the top-right corner of the Betaflight Configurator. The drop-down menu tells you exactly how Windows or Mac is treating your drone.
Status Shows “No Ports” or “Manual Selection”
This means your computer does not recognize the flight controller as a communication device.
- The “Charge-Only” Cable Trap: Many cables from cheap electronics only have power wires and lack data wires. Throw these away. You need a verified data-sync cable.
- Missing Drivers: F4, F7, and H7 processors require specific Virtual COM Port (VCP) drivers.
- The Pro Fix: Do not hunt for drivers manually. Download and run the ImpulseRC Driver Fixer. Plug in your quad, open this tiny app, and it will forcefully reinstall the correct CP210x or STM32 drivers in about 30 seconds.
Status Shows “DFU” (Device Firmware Upgrade)
DFU mode is the backdoor used to install firmware. You cannot click “Connect” to tune your PIDs while in DFU mode; you can only click “Update Firmware.”
- Accidental Button Press: You might be squeezing the frame and holding the tiny Boot button while plugging in the USB.
- Bricked Firmware: If an update failed or you flashed the wrong target, the FC will automatically boot into DFU for safety.
- The Pro Fix: If you didn’t mean to enter DFU, simply unplug and re-plug the USB without touching the board. If it stays in DFU, you must flash the correct firmware.
Shows “COM X” But Fails to Connect
Your computer sees the drone, but Betaflight gets a “Serial port closed successfully” error or times out after 10 seconds.
- The Self-Lockout (MSP Disabled): If you accidentally went into the “Ports” tab, toggled off the “MSP” switch for USB VCP, and clicked save, you locked yourself out. The FC will no longer accept USB commands.
- The Fix: Hold the Boot button, plug in the USB to enter DFU mode, and flash the firmware with “Full Chip Erase” checked to wipe the settings clean.
- Software Interference: Background programs like 3D slicers (Cura) or gaming controller mappers will often hijack COM ports. Close all background applications.
Additional Tips
Here are some additional tips that may help you connect your flight controller to Betaflight:
- Always keep Betaflight Configurator updated.
- Try a different computer to rule out OS-specific issues.
- If the connection is intermittent, wiggle the USB gently to check for loose ports.
- For long-term reliability, consider adding a Bluetooth or Wi-Fi adapter like SpeedyBee for wireless configuration.
Betaflight Connection FAQ
Why does Betaflight say “failed to open serial port”?
The short answer is that another software program is currently using that specific COM port. Background applications like 3D printing slicers (Cura) or Arduino IDE constantly ping USB ports. Closing these applications and reconnecting your USB cable will immediately solve the betaflight failed to open serial port error.
How do I fix Betaflight not connecting to my drone?
The most reliable fix for Betaflight not connecting is to replace your USB cable with a verified data-sync cable and run the ImpulseRC Driver Fixer. These two steps resolve over 80% of all connection failures by eliminating bad physical links and forcing Windows to recognize the STM32 virtual COM port.
Why does my FC only connect to Betaflight when a LiPo battery is plugged in?
If your FC requires a battery to connect to USB, the onboard 5V USB diode is blown. The USB port usually powers the FC’s processor directly. If that pathway burns out (often due to a short circuit), the FC relies on the main battery to power the 5V regulator. You can still fly the drone, but you will always need to plug in a battery (with props off!) to tune it.
What does DFU stand for in Betaflight?
DFU stands for Device Firmware Upgrade. It is a low-level state baked into the STM32 processor that allows you to completely wipe and rewrite the flight controller’s operating system (firmware). You enter this state either by holding the physical Boot button during power-up or by typing “bl” in the Betaflight CLI.
How do I fix the “Serial port successfully closed” error?
This error usually indicates a version mismatch between your firmware and the Betaflight Configurator software. If you are trying to connect a drone running older Betaflight 4.2 firmware using the newest Betaflight 10.10 Configurator, it may reject the connection. Update both your Configurator app and your FC firmware to the latest stable releases.
Will a burnt 4-in-1 ESC prevent my flight controller from connecting to USB?
In most cases, no; a burnt ESC will not stop USB connectivity unless it sent a massive voltage spike through the wiring harness. The flight controller is isolated and powered by the USB cable independently of the ESC. However, if the ESC shorted out the FC’s main MCU, the board will be completely dead (no lights).
What is the best way to fix Betaflight driver issues on Windows 11?
The absolute safest choice for fixing driver issues is running the ImpulseRC Driver Fixer. Manually installing Zadig or CP210x drivers often leads to messy conflicts in the Windows Device Manager. The ImpulseRC tool automatically detects your specific FC and forces Windows to assign the correct WinUSB driver.
Conclusion
When your flight controller is not connecting to Betaflight, don’t panic. Start with the basics: check the USB cable, drivers, and ports. Then move on to DFU mode and firmware flashing. In most cases, the fix is simple, and your quad will be ready to fly again.
By following this guide, you’ll not only solve connection issues but also gain a deeper understanding of how your Betaflight flight controller communicates with your setup.
If you frequently work with flight controllers and want to test more hardware in real-world builds, consider joining the MEPSKING Vine Voice. Pilots can receive FPV components for free and share genuine reviews to help the community.