
Why Durability Matters for New FPV Pilots
Every new FPV pilot crashes—sometimes a dozen times in a single flight session. That’s why the first rule of a beginner FPV drone build bash is simple: get a durable drone. A tough quadcopter won’t break easily, protects your wallet, and lets you practice flying instead of repairing.
Durability comes from:
- Strong carbon fiber frames
- Flexible props or prop guards
- Lightweight builds that reduce crash force
- Easy-to-replace, affordable components
When you prioritize these features, you’ll spend less time fixing and more time learning.
Recommended Drone to Bash: Best Options for Beginners
If you are just entering FPV, choosing the right size and type of quad matters:
- 2.5–3.5 inch budget FPV drones → Compact, safer, and easier to repair. Great for practicing in small parks or indoor spots.
- Cinewhoop drones with prop guards → Highly durable drone frames that protect your props during crashes, making them one of the best recommended drones to bash.
- 5 inch drones → The standard for freestyle, but not ideal for beginners. They’re powerful but costly to repair, so they are not the best choice for a budget basher build.
If you want to fly right away, many budget FPV drones come as Ready-to-Fly kits, which include everything you need to get in the air without building from scratch.
Building Your Own Budget Basher Build
If you’d rather DIY your own fpv drone build, you’ll need to think carefully about component choice. The goal is to design a budget basher build that’s both crash-resistant and affordable.
Tools You’ll Need
- Soldering kit (iron, solder, flux)
- Precision screwdrivers
- Heat shrink & electrical tape
- Zip ties (for securing wires and connectors)
Key Components for a Durable Drone
- Frame: Go with 3mm+ carbon fiber. A strong frame absorbs impact and is the foundation of a long-lasting build.
- Motors: Choose budget-friendly brushless motors. Easy to replace and cost-effective.
- Props: Flexible Gemfan or HQ props are crash-friendly; add prop guards for extra durability.
- AIO Flight Controller & ESC: Fewer solder points, reducing failure risk.
- Camera & VTX: Keep it simple; durability matters more than high resolution at this stage.
Part Lists
Here’s the parts list we recommend for this budget basher build, along with why each one was chosen:
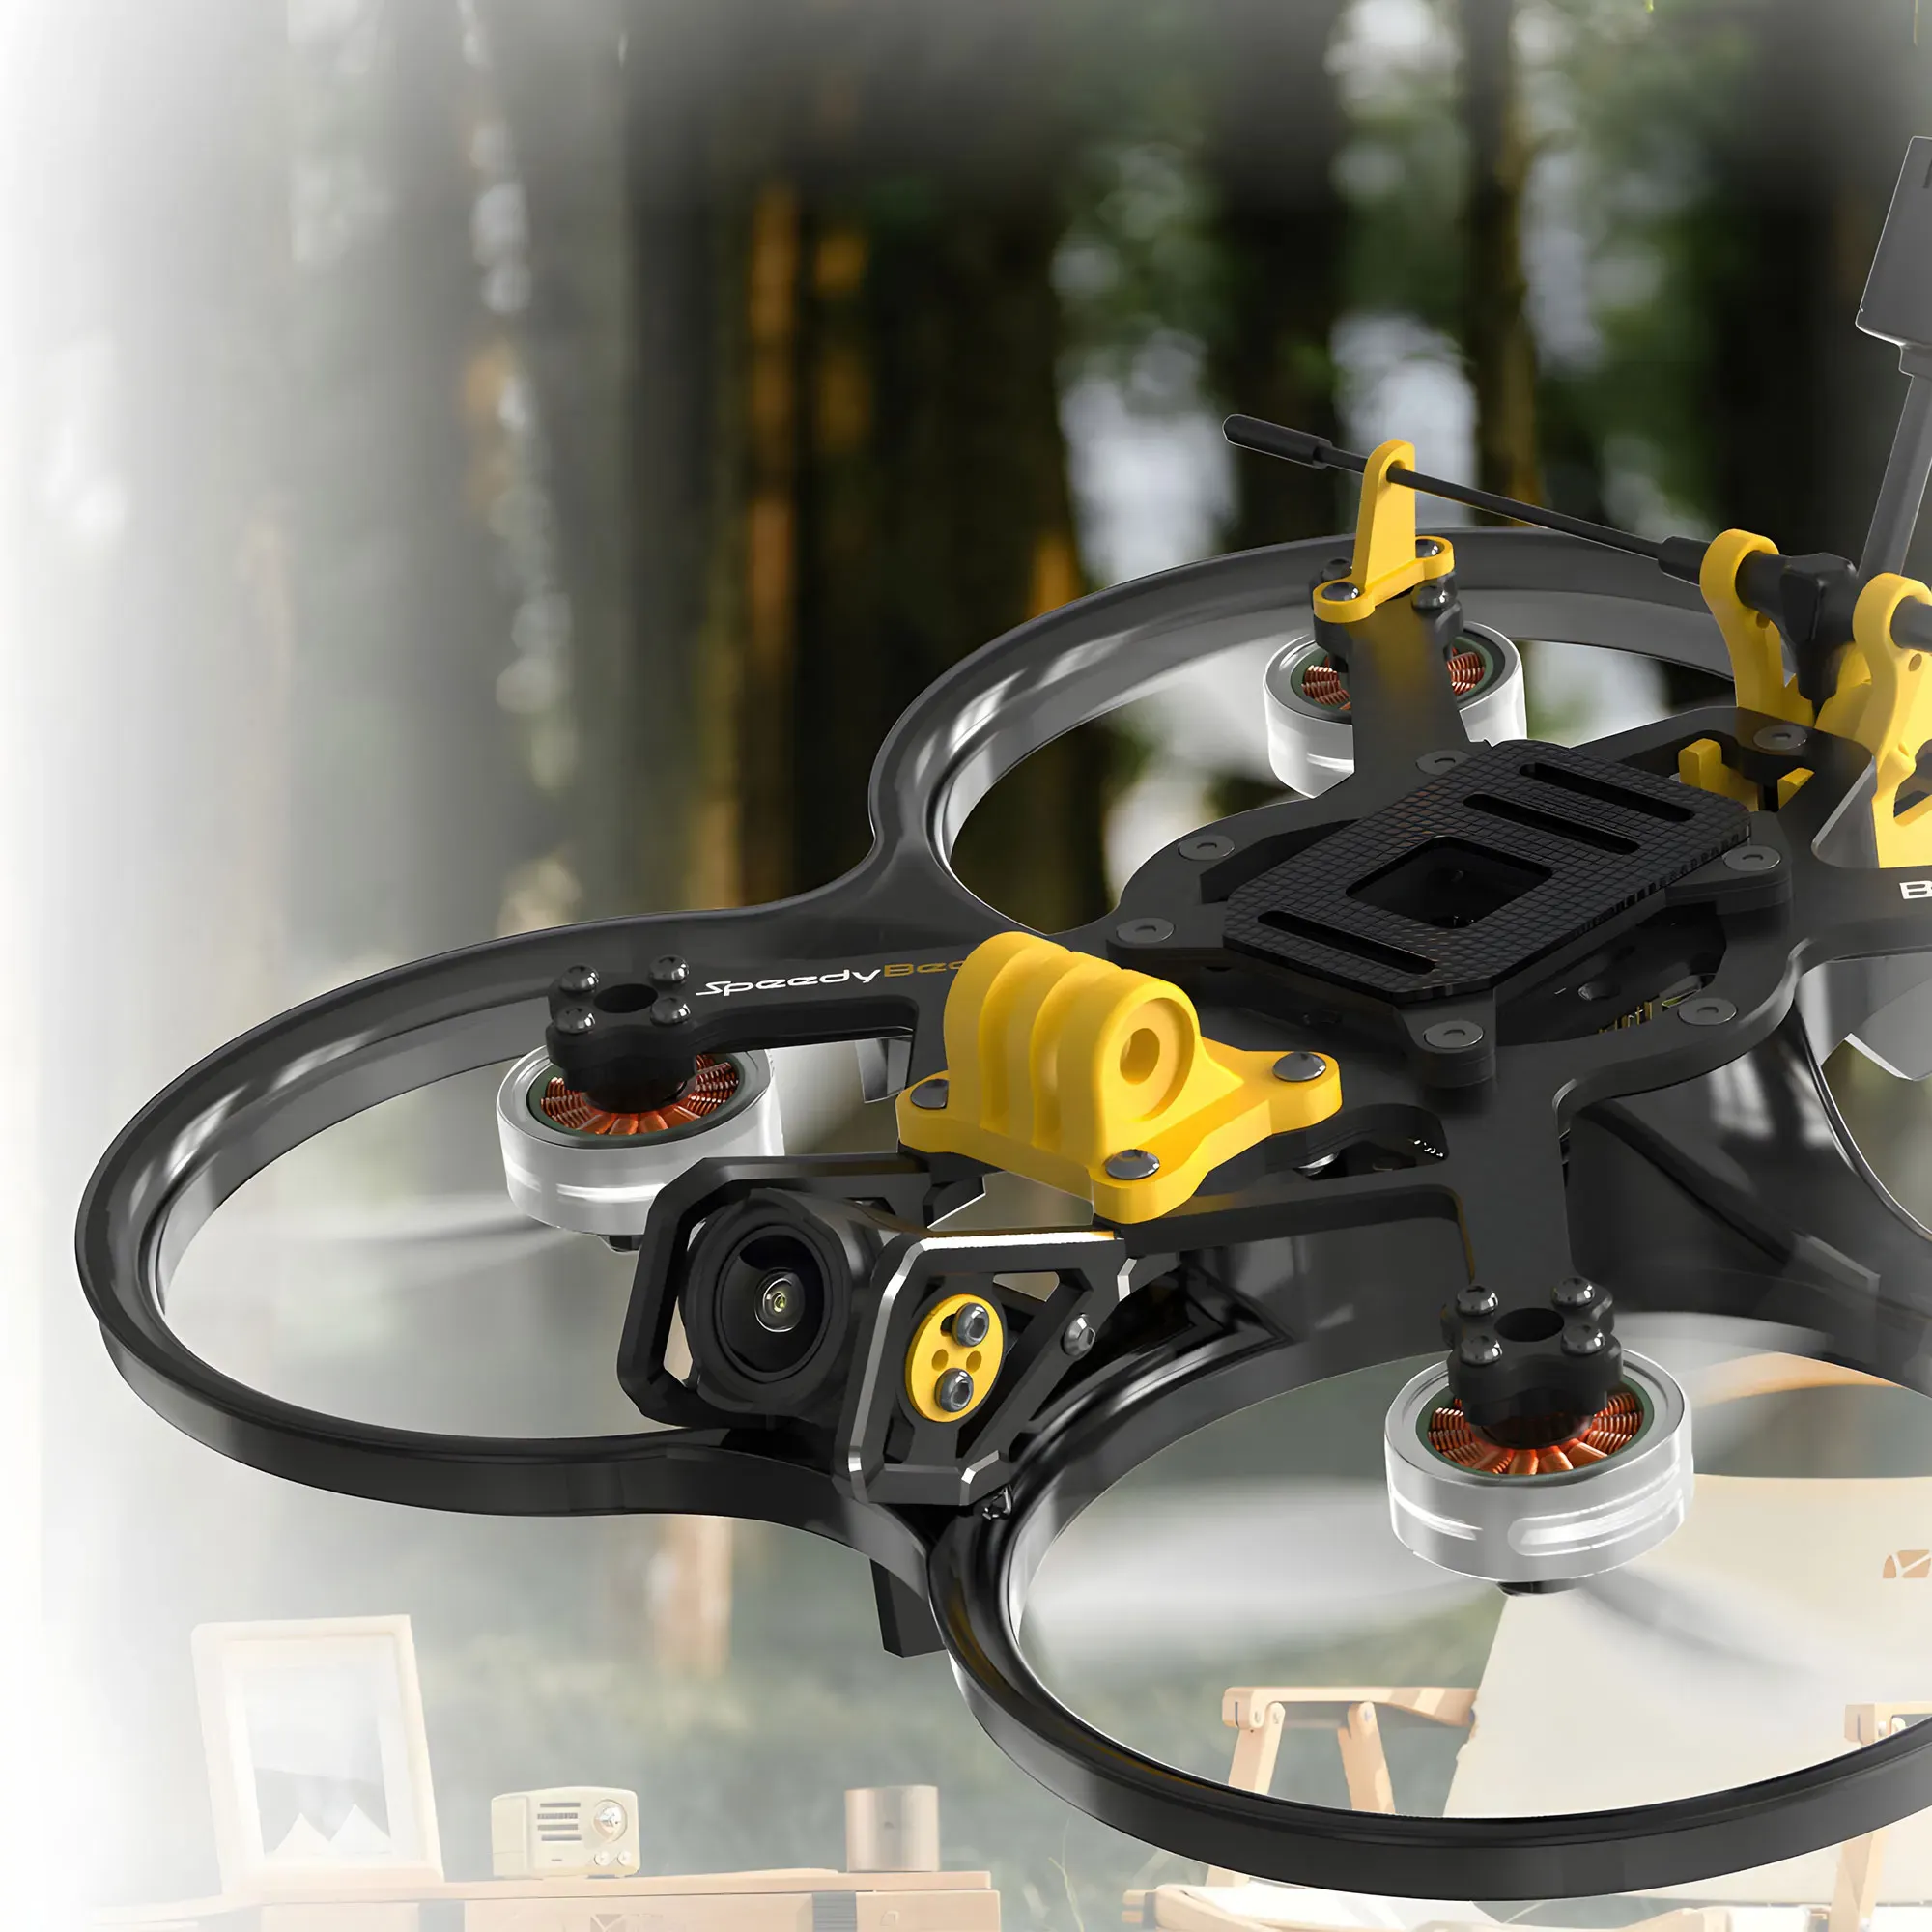
Frame: Speedybee SafeBee 35 – $34.99
A tough, budget-friendly frame that can take hits without breaking easily. Perfect for bashing practice.
Motors: MEPS SZ2104 – $52
Known for their durability and smooth performance, these motors are powerful enough for freestyle yet resilient against crashes.
AIO: Speedybee F405 AIO 40A – $56
Combines flight controller and ESC into one board, making wiring simpler and reducing failure points.
Props: Gemfan 3520 Propellers – $4
Durable and inexpensive props, easy to replace when broken—ideal for budget bashers.
Camera: CADDXFPV Baby Ratel2 Analog – $25.9
Affordable analog FPV camera with good low-light performance.
(Optional Upgrade: Walksnail Avatar HD Pro Kit – $159 for HD video feed)
VTX: SpeedyBee TX800 – $33.99
Strong, reliable video transmitter with adjustable power for both indoor and outdoor flights.
Antenna: Foxeer Lollipop 4 – $19.9
Durable and proven to survive crashes while maintaining solid signal quality.
Receiver: SpeedyBee Nano 2.4G – $11
Budget-friendly, compact receiver for a stable radio control link.
ALL for $240, and an HD drone for $317. This list balances performance with cost, keeping the drone durable and budget-friendly.
If you’re building an affordable FPV quad and want to test motors, stacks, or batteries without stretching your budget, the MEPSKING VINE VOICE program lets pilots apply for free gear and share real feedback. It’s a simple way to experiment with new parts while helping improve the products we all use.

Step-by-Step Build Guide for Beginners
Building your first beginner FPV drone build bash doesn’t have to be intimidating. With durable and budget-friendly parts, you can create a budget basher build that survives crashes and still delivers an amazing flight experience. Below is a step-by-step guide to help you assemble a durable drone from scratch.
Step 1: Assembling the Frame
Start with the SpeedyBee SafeBee 35 Frame. This frame is specifically designed for bashing, with reinforced arms and plates that can take repeated impacts. Attach the arms to the center plate using the included screws. Make sure all bolts are tightened evenly to keep the frame sturdy.
Why this frame? It’s cheap, strong, and widely recommended as one of the best budget FPV drone frames for beginners.
Step 2: Mounting the Motors
Next, mount the MEPS SZ2104 Motors to the ends of the frame arms. Use the included screws to secure each motor. Check motor orientation carefully:
- Two motors should spin clockwise (CW).
- Two motors should spin counterclockwise (CCW).
This balance is crucial for stable flight.
The SZ2104 motors are light, powerful, and highly durable, making them perfect for a recommended drone to bash. They can handle aggressive flying without easily burning out.
Step 3: Installing and Connecting the AIO Board
Now it’s time to mount the SpeedyBee F405 AIO 40A. This all-in-one board combines the flight controller and ESC, simplifying the build for beginners. Place the AIO board in the center of the frame, using soft mounting grommets to reduce vibration.
- Connect the motor wires directly to the AIO pads.
- Solder carefully and double-check connections.
- Keep wires neat to prevent shorts during crashes.
It reduces wiring complexity, which is especially useful in a beginner FPV drone build bash, where durability and simplicity matter most.
Step 4: Power Distribution and Battery Connection
Solder the XT60 connector to the main power pads on the AIO board. This will allow the LiPo battery to power your entire system. Make sure:
- The red wire is connected to the positive (+) pad.
- The black wire is connected to the negative (–) pad.
Double-check solder joints for strength. Weak connections can break in a crash.
This step ensures your budget basher build has a solid power backbone.
Step 5: Attaching the Propellers
Install the Gemfan 3520 Propellers onto the motors. Pay attention to rotation:
- Two props should spin CW.
- Two should spin CCW.
If installed incorrectly, the drone won’t lift off.
Check out this internal guide: [How to install propellers on your FPV motors] for a more detailed walkthrough.
Step 6: Installing the Transmitter and Receiver
Mount the SpeedyBee Nano 2.4G Receiver on the frame with double-sided tape or zip ties. Position the antennas at 90° angles for better signal coverage. Connect the receiver to the flight controller using CRSF.
Bind the receiver with your radio transmitter by following the included instructions. Test the link before moving forward.
Step 7: Setting Up the Camera and VTX
For the analog video system, following the wiring diagram, solder the CADDXFPV Baby Ratel2 Analog Camera and SpeedyBee TX800 VTX onto the AIO. Then, mount the Foxeer Lollipop 4 Antenna at the rear of the drone.
Want HD? Upgrade to the Walksnail Avatar HD Pro Kit for crystal-clear footage.
Programming and Setting Up the Drone
After finishing the physical FPV drone build, the next step is programming and tuning. This ensures your beginner FPV drone build bash flies smoothly and responds correctly to your controls.
Step 1: Connecting to Betaflight
- Download and install Betaflight Configurator (free software).
- Plug your drone into your computer via USB.
- Select the COM port and click Connect.
This is the hub where you’ll configure flight settings, motor directions, and safety features.
Step 2: Firmware Update
- Go to the Firmware Flasher tab.
- Select your flight controller (SpeedyBee F405).
- Flash the latest stable firmware.
Keeping firmware updated ensures your durable drone has the newest features and bug fixes.
Step 3: Calibrating Accelerometer and Receiver
- Place the drone on a flat surface.
- Hit Calibrate Accelerometer.
- Bind your transmitter to the SpeedyBee Nano 2.4G receiver.
- In the Receiver tab, check that stick movements match correctly (Throttle, Yaw, Pitch, Roll).
Step 4: Configuring Motor Direction
- Go to the Motors tab.
- Spin each motor (without props).
- Verify directions match the Betaflight motor layout.
If wrong, use BLHeli Suite or Betaflight’s resource remapping to reverse rotation.
Correct motor direction is crucial for a budget basher build—otherwise the drone won’t take off.
Step 5: Setting Up Flight Modes
- In the Modes tab, assign switches on your radio to:
- Arm/Disarm
- Angle Mode (Beginner-friendly)
- Acro Mode (for practice once confident)
- Save and test.
Having safe modes makes this the perfect recommended drone to bash for new pilots.
Step 6: Failsafe Settings
- Set failsafe to Drop or Land when signal is lost.
- This prevents your drone from flying away.
Failsafe is essential for beginners and helps protect your budget FPV drone investment.
Step 7: PID and Rates (Optional Beginner Tuning)
- Default PIDs on Betaflight usually fly well.
- For smoother beginner control:
- Lower Rates (e.g., RC Rate = 0.8, Super Rate = 0.6).
- This makes stick response softer and more manageable.
- As you gain confidence, increase rates for freestyle or acro tricks.
Step 8: OSD and VTX Setup
- Enable key OSD elements: battery voltage, flight time, RSSI (signal strength).
- Configure your TX800 VTX channels and power levels in the Video Transmitter tab.
- Test video feed through your FPV goggles.
Step 9: Save and Test
- Save all settings.
- Do a test hover in a safe open area.
- Re-check motor temps and ensure the drone stays stable.
Now your beginner FPV drone build bash is ready for real flights and crashes—without fear.
First Flight & Troubleshooting
When you launch your budget basher build for the first time:
- Fly over grass → softer landings protect the drone.
- Start in angle mode (stabilized) before moving to acro.
- Use small throttle inputs to avoid over-correcting.
Common Beginner Issues
- Drone flips at takeoff → Props reversed or motor rotations incorrect.
- Drone drifts → Accelerometer calibration needed.
- Weak video feed → Check antenna connections.
Maintenance Tips for a Durable Drone
To keep your durable drone lasting longer:
- Inspect screws and frame after hard crashes.
- Replace bent props immediately.
- Clean motors regularly to prevent bearing damage.
- Keep spare props and motors in your field kit.

Budget FPV Drone Kits Recommendations
If you’re not ready to build from scratch, here are some budget FPV drones that are already optimized for bashing:
Flywoo Nano Baby 20 – The Mini Bash Beast
The Flywoo Nano Baby 20 is one of the smallest and lightest whoop drones with Avatar digital VTX. Despite its size, it’s extremely durable and great for new pilots.
- Why it’s durable: Square geometry frame that resists damage even on hard crashes at only 45–55g AUW.
- Performance: Brushless 1002 15500KV motors + Gemfan 2015 props give an excellent thrust-to-weight ratio.
- Smart Features: Built-in ELRS receiver, Walksnail Avatar HD support, and swappable battery mounts.
Pro tip: Zip-tie the XT30 cable to prevent AIO damage during battery ejection.
A perfect budget basher build option that combines resilience and digital HD performance.
DarwinFPV BabyApe Pro – Affordable Basher for Beginners
The DarwinFPV BabyApe Pro V2 is designed for entry-level pilots who want a tough, no-frills durable drone.
- Why it’s durable: Lightweight (74g) → less crash momentum, stronger arms in Pro V2.
- Performance: 3-inch toothpick design with up to 7 minutes flight time and 1.3 km range.
- Budget-friendly: Motors only $6, frame $20. Cheap to repair after crashes.
- Beginner-friendly: LED-lit arms for easy orientation in the air.
This is the ultimate budget FPV drone for beginners who want maximum fun with minimum cost.
Betafpv Meteor Series – Lightweight Cinewhoop Durability
The Betafpv Meteor series is popular for its reliability and design improvements that make it one of the most recommended drones to bash.
- Why it’s durable: Reinforced canopy + prop guards for extra crash resistance.
- Performance: Stable flight, responsive controls, and adjustable camera angle for FPV learning.
- Best for beginners: Lightweight build reduces damage while offering smooth flights indoors and outdoors.
A great option for those who want a ready-to-fly budget basher build with trusted brand support.
Conclusion
For any pilot starting out, a beginner FPV drone build bash is all about durability, affordability, and crash survival. Whether you go with a DIY FPV drone build or pick a budget FPV drone kit like the Flywoo Nano Baby 20, DarwinFPV BabyApe, or Betafpv Meteor, the key is finding a durable drone that lets you fly more and fix less.
With the right budget basher build, you can confidently practice, crash, learn, and progress—without draining your wallet.