
Introduction:
Binding is the process of creating a secure communication link between your FPV drone’s receiver (RX) and your radio transmitter (TX). Without binding, your drone simply won’t arm or fly. In this guide, we’ll walk you through step-by-step binding for TBS Crossfire and ExpressLRS (ELRS)—the two most popular radio link systems today. It covers the basic steps for successful binding, troubleshooting tips, and highlights the importance of this process in getting your drone ready for flight.
- FPV Introduction: Discusses the essentials of FPV drone tuning, marking the transition from building to operating an FPV drone.
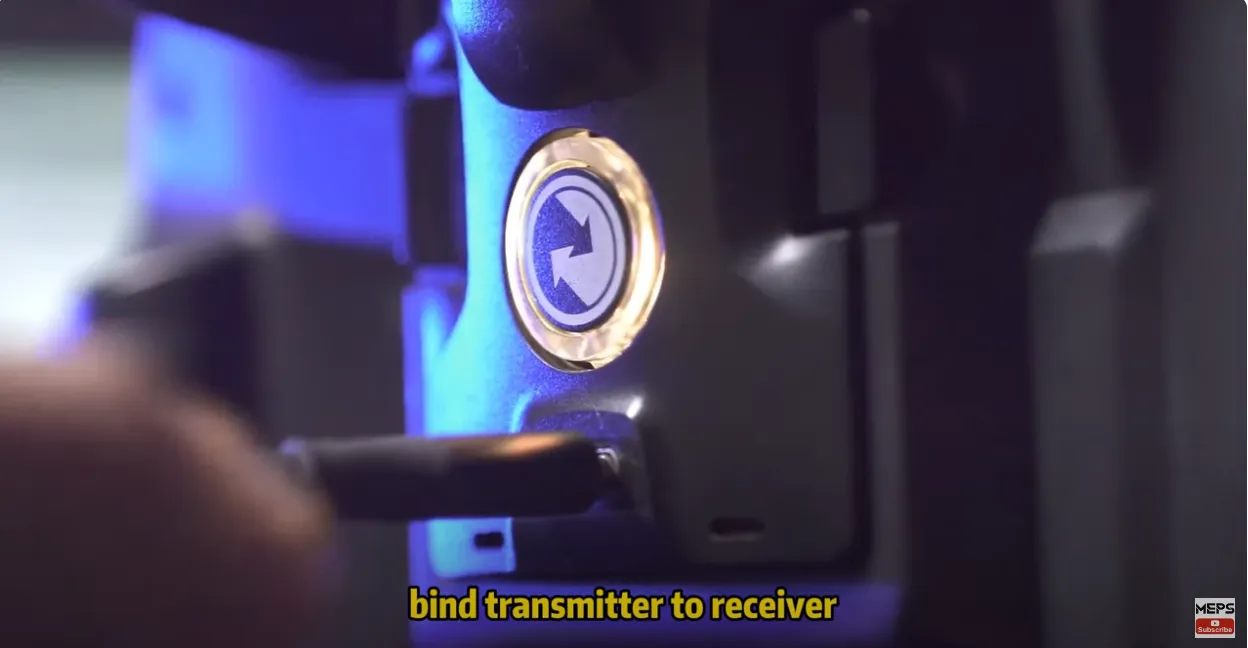
- Control System Basics: Underlines the importance of binding the transmitter to the receiver, a crucial step to get the drone operational.
- Binding Process:
- TBS Crossfire: Describes a straightforward method to bind by powering the receiver, entering binding mode, and completing the bind through the transmitter.
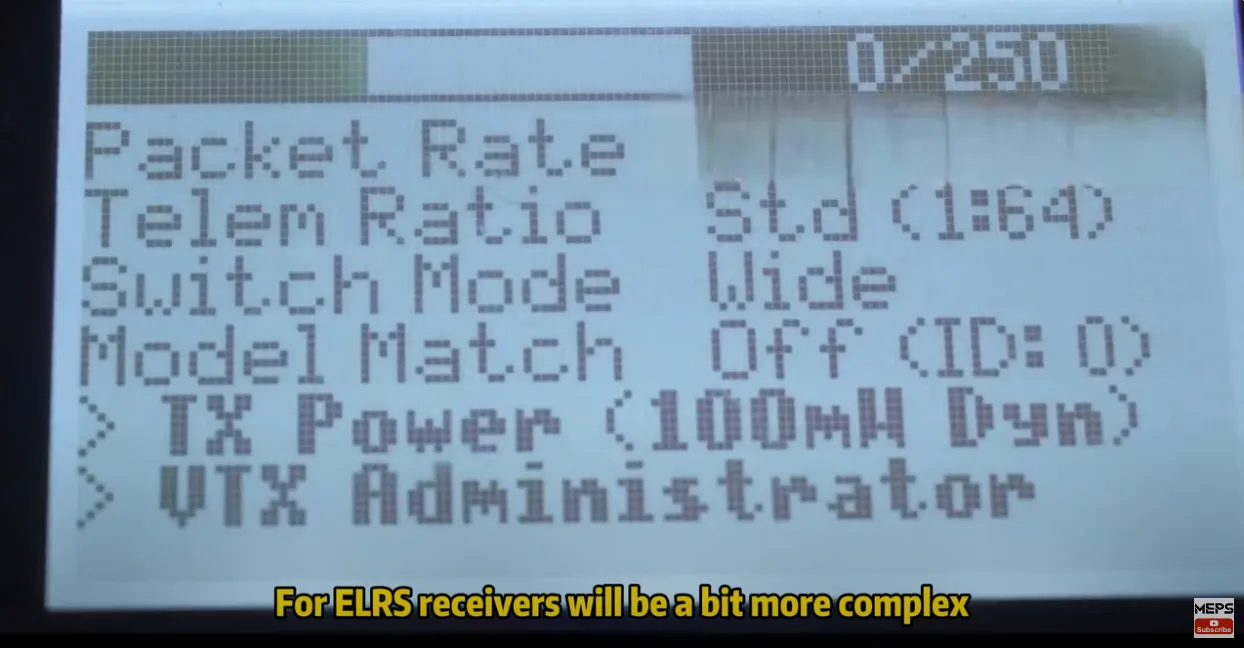
- ELRS: Details a more complex binding process, involving power cycling and using a Lua script, with a note on potential firmware updates for troubleshooting.
- Conclusion: Prepares the reader for the next steps post-binding, focusing on channel setup and control fine-tuning.
What you need:
Freestyle Recommended:


Video Overview
If you want to get into the FPV hobby without knowing how to bind receiver to transmitter, you can’t even get off the ground. Hey guys, welcome to the MEPS channel. Today we are going to talk about tuning. They say getting into FPV drones is challenging, so if you have already finished building your FPV drone. Congratulations, you’ve successfully crossed the first threshold and reached the second one-tuning.
Many tutorials online might require payment, be incomplete, or simply too lengthy and dull. That’s where we come in. At MEPS channel, we’re dedicated to breaking down FPV tuning into digestible, easy-to-understand pieces, all in the shortest time possible. So, don’t forget to hit the subscribe button and give us a thumbs up. Ready? Let’s dive in.
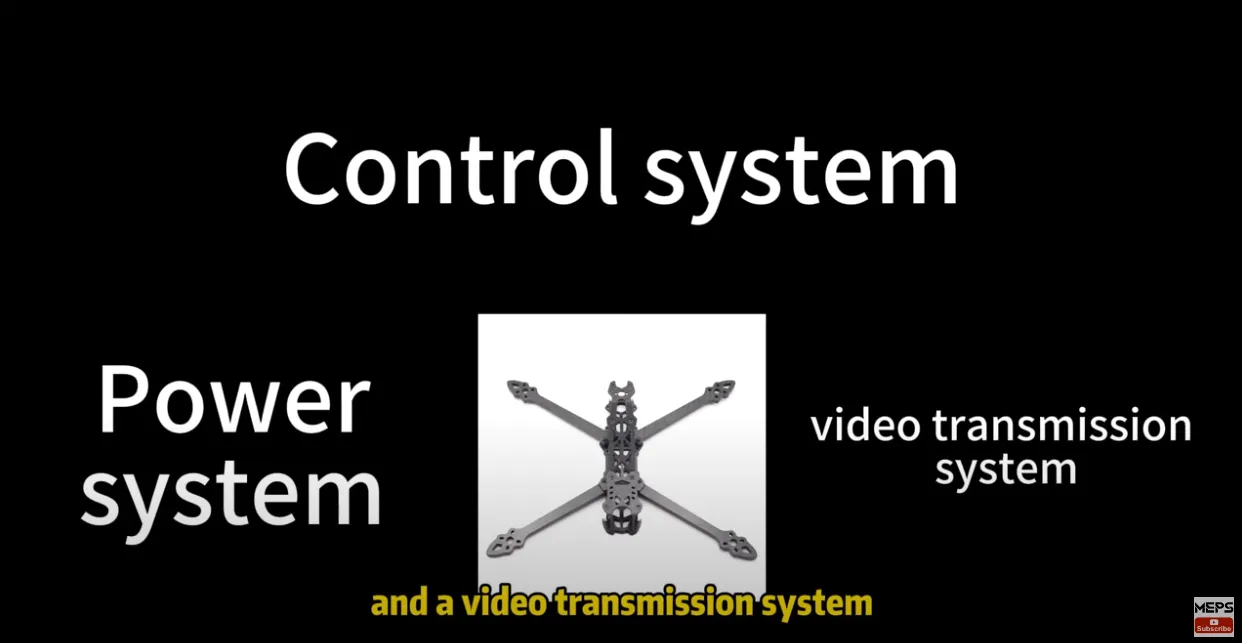
Understanding the FPV Drone’s Control System
At the core of every FPV drone is the control system:
- Transmitter (TX): Your handheld radio, sending stick inputs.
- Receiver (RX): The module on your drone, receiving those signals.
- Protocol: The “language” they use to communicate (e.g., Crossfire, ELRS, FrSky).
If TX and RX don’t “speak the same language” and aren’t bound, the drone cannot respond. That’s why binding is step one after a new build.
Binding Your Transmitter to Receiver
General steps before binding:
- Ensure your transmitter module is correctly installed and powered.
- Check that both TX and RX firmware are updated and match in version.
- Have your radio powered on and ready before initiating RX binding mode.
The heart of the FPV drone’s control system is the connection between your transmitter (radio controller) and the receiver on the drone. Without this connection, your drone is grounded. There are primarily two main protocols in the market – TBS Crossfire and ELRS, each with its unique binding process.
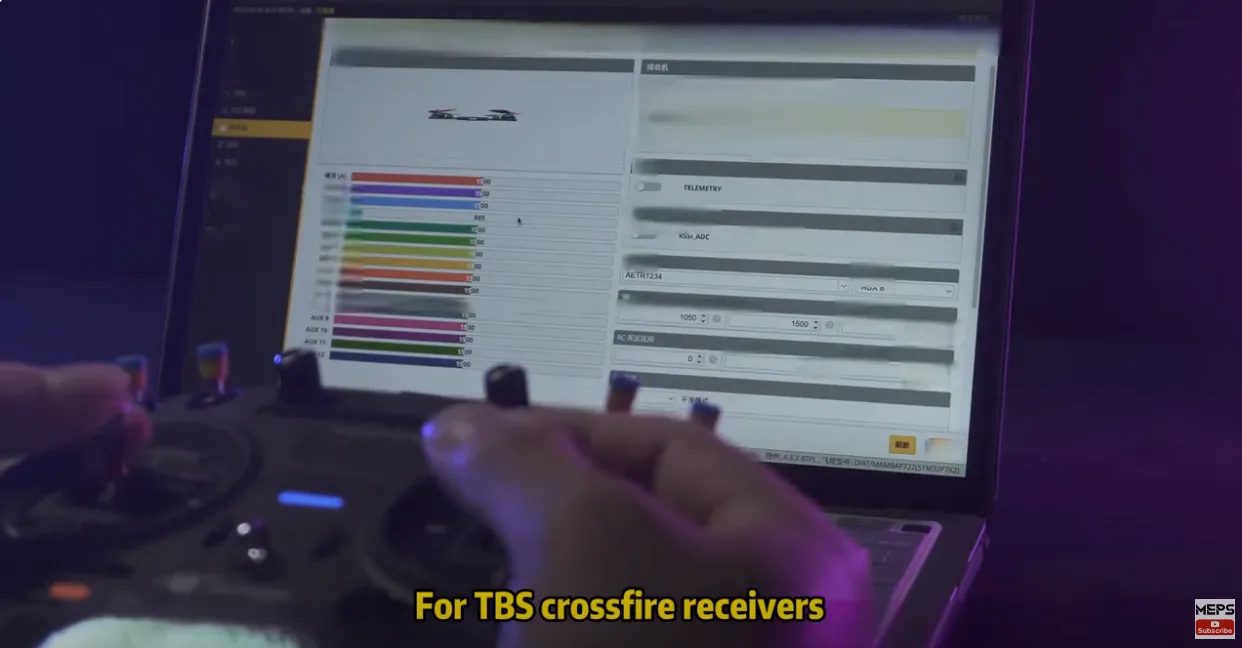
TBS Crossfire Binding
Crossfire is known for its long range and reliable link. Binding a TBS Crossfire receiver is relatively straightforward
- Power the receiver via USB or flight battery.
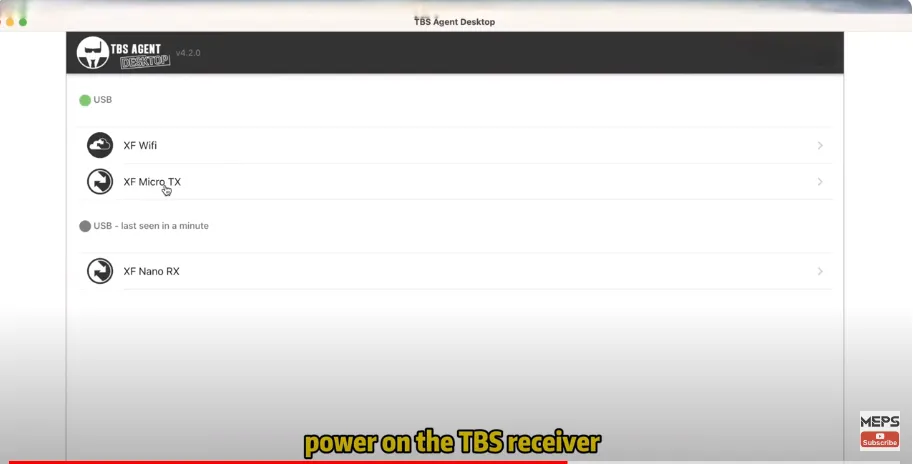
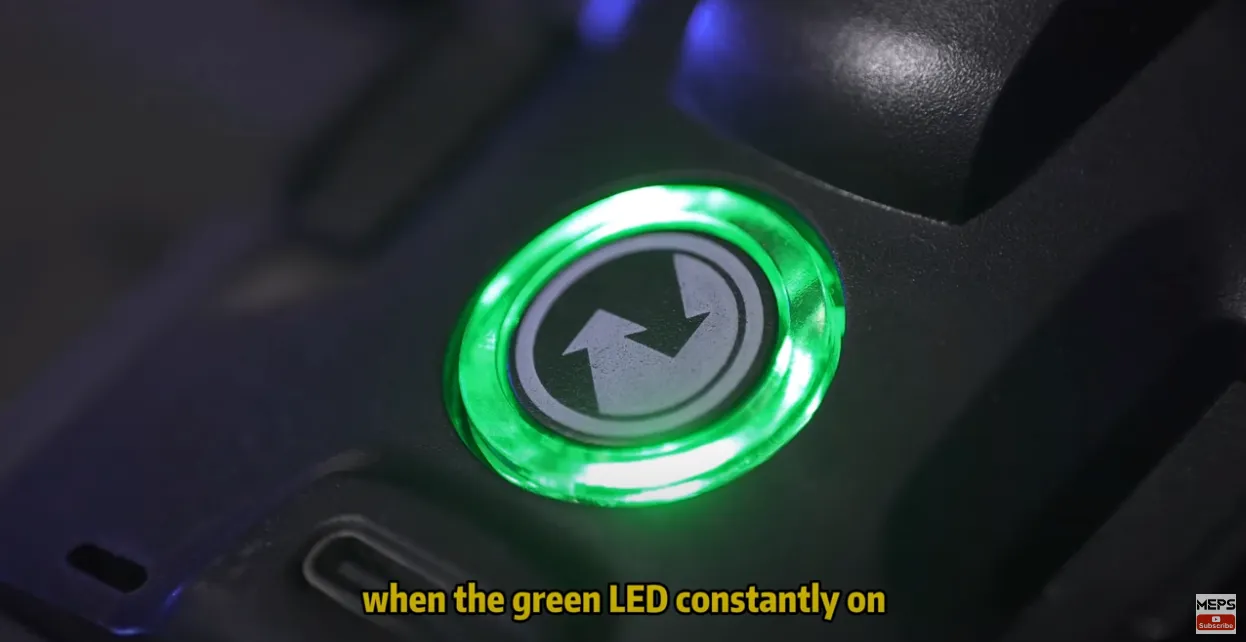
- Press the button on the RX to enter binding mode, indicated by a slowly flashing green LED.
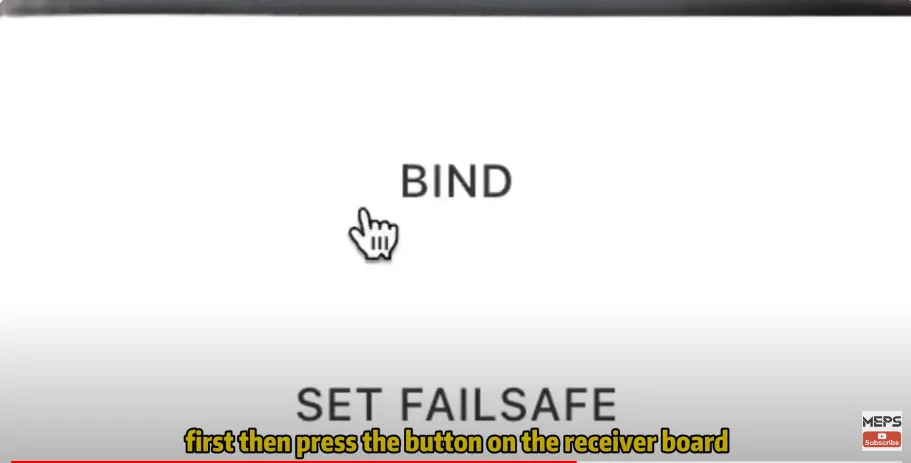
- On your radio transmitter, enter the Crossfire menu → choose “Bind”.
- A solid green LED means the bind was successful.
Tips:
- If binding fails, check for firmware mismatch between TX and RX.
- Crossfire will auto-update the receiver firmware once connected—allow it to finish.
ExpressLRS (ELRS) Binding
ELRS is popular for its low latency and open-source flexibility.
ELRS supports multiple binding methods:
Method A: Triple Power Cycle
- Enter RX binding mode by powering the receiver off and on three times quickly (within 1 second intervals). LED should start blinking fast.
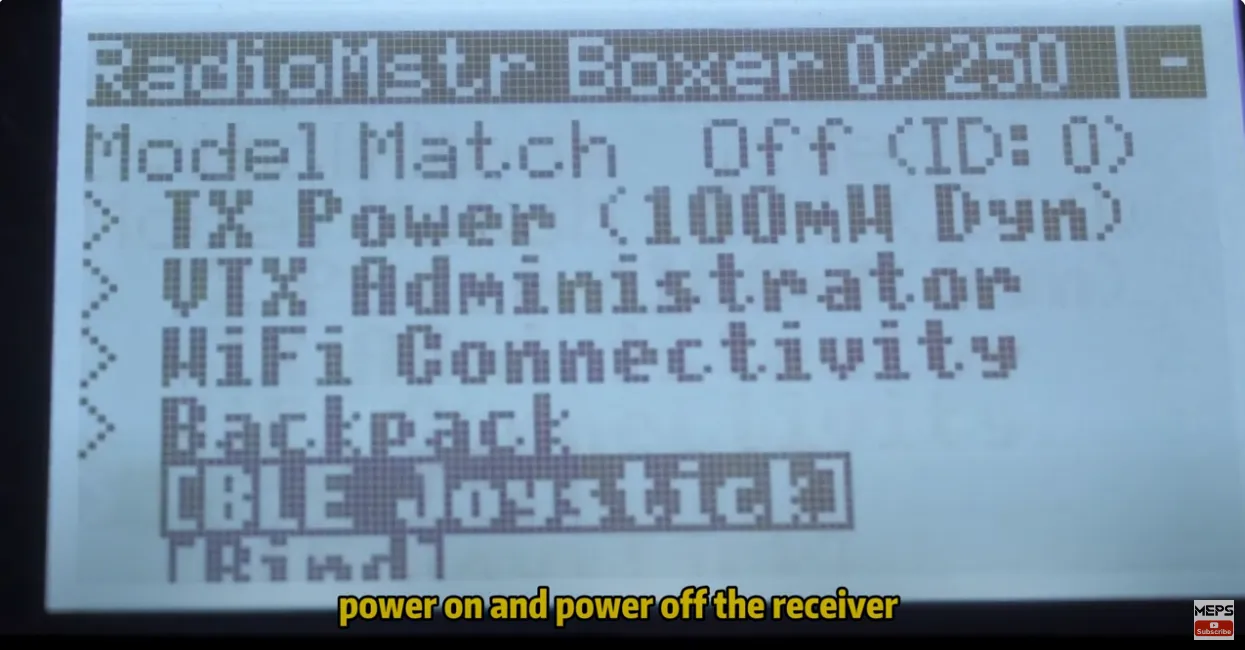
- On your radio, run the ELRS Lua script (found in the Tools menu) → select Bind.
- Once linked, RX LED turns solid.
Tips & Troubleshooting:
- If bind fails, make sure both TX and RX firmware use the same binding phrase (set in ExpressLRS Configurator).
- Update firmware if necessary—use “WiFi update” or “UART passthrough” methods.
- Keep in mind: ELRS has many receiver variations (PWM, SPI, UART), so always double-check your model’s binding instructions.
Method B: Betaflight “Bind Receiver” Button
If you’re running ELRS v3.4+, you can trigger binding from the Betaflight GUI’s Receiver tab. Simply click “Bind Receiver”, and switch your TX to binding mode via Lua script.
Method C: Wi-Fi or Web UI Binding
Some ELRS RXs enable Wi-Fi binding through a browser interface:
- Hold power until the RX enters Wi-Fi mode (fast LED blink).
- Connect via Wi-Fi and open 10.0.0.1 to set your bind phrase.
- Save settings and restart to initiate binding.
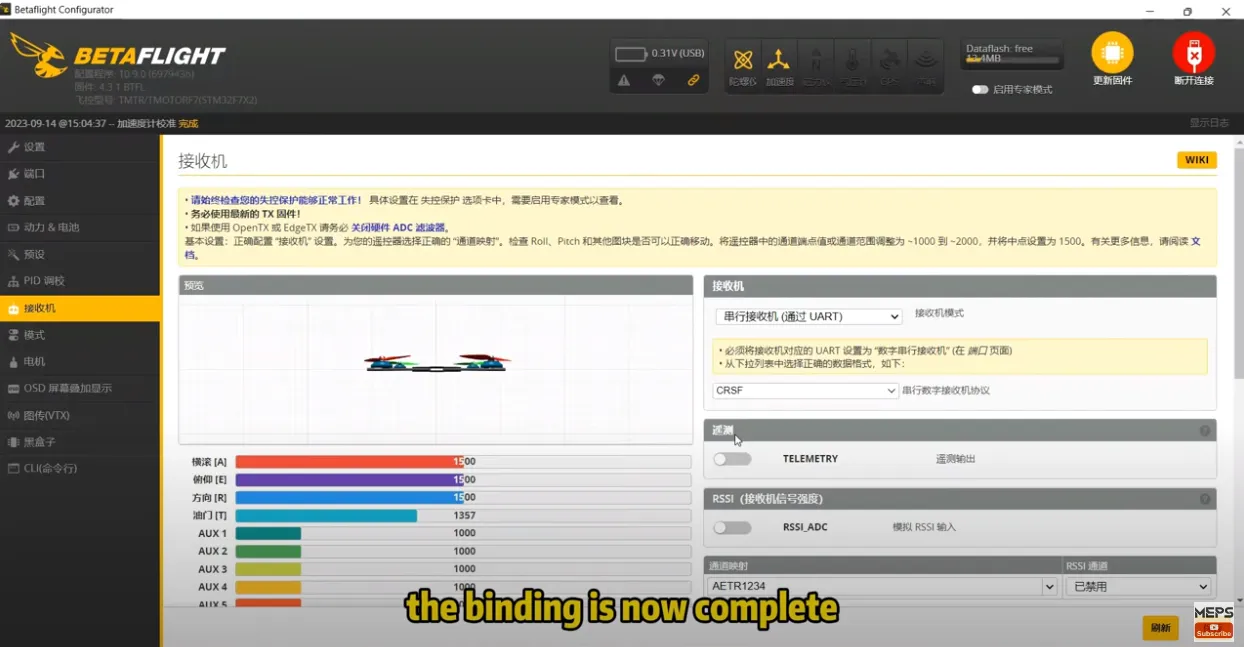
How to Verify Binding Success
- Launch Betaflight → go to Receiver tab.
- Move sticks—active channels should reflect these movements.
- Try arming (with props removed)—successful bind should allow safe arming, whereas a bad bind typically prevents it.
Troubleshooting Common Binding Issues
| Problem | Fix |
|---|---|
| No response or no bind LED | Confirm firmware versions match; reflash if necessary. |
| ELRS not binding | Ensure binding phrases are identical across TX & RX. |
| Using Betaflight method | Requires at least v3.4 of ELRS firmware. |
| Interference or poor signal | Move to a low-EMI location, away from Wi-Fi and electronics. |
| Crossfire inconsistencies | Use official Crossfire firmware tools to sync TX/RX versions. |
Conclusion
Binding your transmitter to your receiver is the gateway to controlled flight. Whether you prefer the trusted long-range link of TBS Crossfire or the low latency of ELRS, once bound, your quad is ready for tuning, failsafe settings, and full control.
Want a wired, seamless binding experience? Check out MEPSKING’s lineup of ELRS TX modules and RX units—click here to explore and shop.