
As an FPV pilot, keeping your FPV motor bearings in top shape is key to smooth, stable flight. Damaged motor bearings can cause:
- Unusual vibrations or buzzing
- Reduced thrust and control precision
- Mid-air instability or crashes
Key points to maintain and repair:
- Inspect bearings regularly for wear or damage.
- Understand common causes of motor bearing failure.
- Perform motor bearing replacement when needed.
- Keep your FPV drone running safely and efficiently.
Mastering these steps ensures your drone flies reliably, protects your motors, and improves flight performance.
What Are FPV Motor Bearings and Why They Matter?
Brushless FPV motors use tiny high-speed motor bearings to support the rotor and reduce friction. They’re the unsung heroes of your powertrain. Good bearings keep the motor spinning true, generating smooth thrust and precise control.
When they wear out, friction increases, causing heat buildup, power loss, and wobble. Even a slightly rough bearing can destabilize your quad during high-speed maneuvers.
See More: What is the Structure of Drone Motor?
Signs Your FPV Motor Bearings Are Damaged
Here’s how I spot bad bearings before they ruin a flight:
- Grinding or scratching noise when spinning motors by hand
- Vibration in goggles footage even after balancing props
- Loose or wobbly motor shafts when gently pushed side-to-side
- Motors running unusually hot after just a short flight
If you notice any of these symptoms, it’s time to inspect your FPV motor bearings closely.
Why FPV Motor Bearings Fail?
Understanding why bearings go bad helps you prevent future damage. Common causes include:
- Dust and debris: Sand, dirt, or grass particles can get inside the motor bearings, especially when flying low or landing off-runway.
- Crashes and impacts: Hard crashes can bend the motor shaft or crack bearing races.
- Lack of lubrication: Over time, the bearing oil dries out, creating friction and wear.
- Overheating: High sustained current heats up the motor, evaporating lubricant and causing metal fatigue.
- Unbalanced props: Poorly balanced propellers vibrate and slowly destroy the bearings.
Pro Tip: Avoid repeated throttle punches when bearings are dry—it accelerates wear fast.
How to Identify Damaged FPV Motor Bearings
Here’s how to tell if your motor bearings are failing:
- Grinding or screeching noises when motors spin
- Vibration during flight, even with balanced props
- Rough feel when spinning the motor by hand
- Excess heat in one motor compared to others
- Decreased efficiency — shorter flight time, higher amp draw
After unplugging your battery, slowly spin the motor bell by hand. Healthy FPV motor bearings feel buttery-smooth with zero resistance or noise.
The Simple Steps
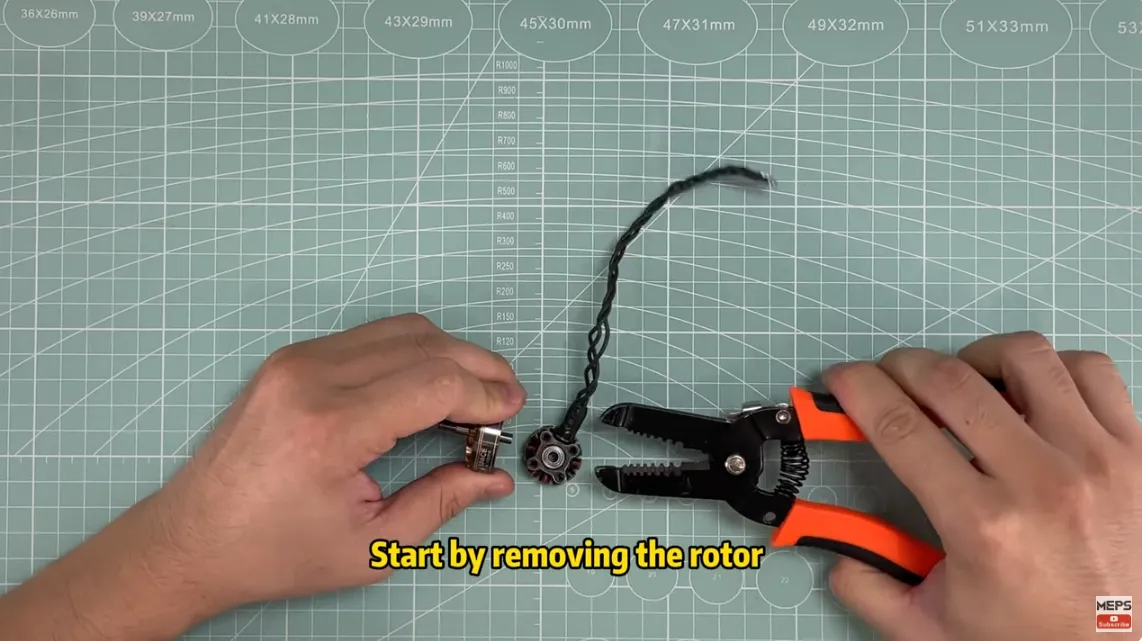
Step 1: Removing the Rotor and Inspecting the Bearings
Start by carefully removing the rotor from the motor, taking care not to disturb the wires. Once the rotor is removed, inspect the two bearings located on the stator.
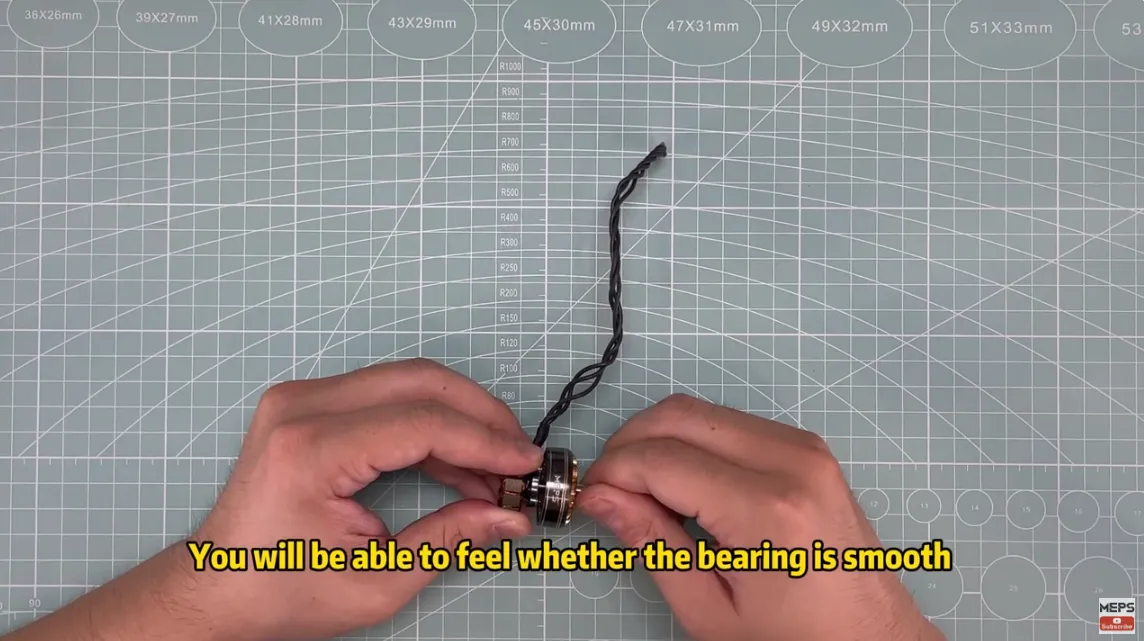
Step 2: Checking the Lower Bearing
Place the bottom of the rotor into the lower bearing. Apply gentle pressure to the shaft and rotate it. Pay attention to how smooth the rotation feels. If you detect any clicking sounds or resistance, it indicates that the lower bearing is damaged and not functioning properly.
Step 3: Checking the Upper Bearing
The same applies to the upper bearing. Gently place the rotor inside, making sure not to force it in too much. Otherwise, they will be easy to stick together. Again, listen for clicking sounds or any signs of irregular movement. If you encounter these issues, the upper bearing may be damaged.

Tools You Need
- Bearing puller or tweezers
- 1.5mm hex driver
- Isopropyl alcohol
- Bearing oil
- Press tool or small socket for installing new bearings
Step-by-Step: How to Fix FPV Motor Bearings
Sometimes bearings are just dirty, not destroyed. You can often revive them without a full motor bearing replacement.
Step 1 — Clean the Bearings
- Remove the prop and carefully disassemble the motor bell.
- Spray the bearings with isopropyl alcohol or electronics cleaner to flush out dirt.
- Let them dry completely, then apply 1–2 drops of high-quality bearing oil.
Step 2 — Reassemble and Test
- Reinstall the motor bell and prop.
- Spin by hand to confirm smoothness.
- Power up and hover-test for vibration or abnormal noise.
If the bearings still grind or heat up, it’s time for replacement.
Step-by-Step: How to Replace FPV Motor Bearings
If cleaning doesn’t work, follow this guide to replace the bearings entirely.
Step 1 — Disassemble the Motor
- Remove the prop and motor from the arm.
- Use snap ring pliers to remove the tiny C-clip on the motor shaft.
- Carefully push the shaft out to separate the motor bell from the base.
Step 2 — Remove Old Bearings
- Locate the top and bottom motor bearings inside the motor base.
- Use a small punch or bearing press to gently push them out evenly.
Step 3 — Install New Bearings
- Get exact-size replacement bearings (check motor specs or use brands like EZO/NSK).
- Press the new bearings evenly into place without forcing or tilting.
- Reassemble the motor, making sure the shaft spins straight and smoothly.
Now your FPV motor bearing replacement is complete.
Final Preflight Checklist
Before flying again, do a quick safety check:
- Spin motors by hand to confirm they’re smooth and silent
- Check there’s no axial play or shaft wobble
- Balance your props to avoid vibration-induced bearing wear
- Hover-test at low throttle, and feel for motor heat buildup
This ensures your repaired motor won’t fail mid-flight.
When to Replace the Entire Motor Instead
Sometimes replacing bearings isn’t worth the effort. Consider a full motor swap if:
- The motor bell is bent or cracked
- The shaft is visibly bent
- You can’t source the right bearing size
- You fly competitively and want 100% reliable power
- The labor cost outweighs the price of a new motor
See More: How to Choose FPV Drone Motor A Detailed Guide?
Pro Tips from FPV Pilots
- Re-lube bearings regularly, especially after dusty or wet flying
- Store drones in a dry box to avoid bearing corrosion
- Balance props every few sessions to reduce vibration
- Inspect bearings after any crash to catch early wear
Conclusion
Regularly checking the condition of your FPV motor bearings is essential for maintaining optimal performance and avoiding costly repairs. By following these simple steps, you can quickly assess whether your bearings are damaged and take appropriate action to address any issues. Remember, early detection and maintenance can prolong the lifespan of your FPV equipment and enhance your flying experience.