
Introduction:
This guide details the steps for applying PID presets in Betaflight to improve the flight performance of a 3.5-inch drone, including firmware updates, applying presets, calibrating the drone, and final flight testing, aimed at both novice and experienced drone enthusiasts.
- Introduction to configuring PID presets in Betaflight for drone flight dynamics improvement.
- Explanation of PID (Proportional, Integral, and Derivative) controls.
- Simplification of the PID tuning process using Betaflight’s presets.
- Step-by-step firmware update and configuration for a T-motor F7 flight controller.
- Application of custom defaults and accelerometer calibration.
- Selection and application of a Superfly FPV freestyle preset for enhanced performance.
- Final review of settings, adjustments based on specific build components, and flight testing.
What you need:
Freestyle Recommended:


Racing Recommended:


Here are the products shown in the video:


Video Overview
Today, we’re going to delve into configuring PID presets in Betaflight, a request from MEPSKING. While PID tuning can seem daunting, applying presets is quite straightforward. PID, standing for Proportional, Integral, and Derivative, is a control loop vital for drone flight dynamics. Let’s dive in and make this complex process a bit more approachable.
What are PIDs?
In FPV drone tuning, PID stands for Proportional, Integral, Derivative — it’s a control algorithm used by your flight controller to keep your drone stable and responsive during flight. PIDs are essential in adjusting how your drone responds to your commands and external factors. They ensure your drone’s movement aligns with your controls, compensating for any discrepancies. Generally, manufacturers of ready-to-fly drones handle PID tuning, but custom builds require your attention.
Explanation of PID
Here’s a simple breakdown of each part:
P (Proportional):
Reacts to how far the drone is from the desired position.
Higher P = quicker response, but too high can cause shaking or oscillation.
I (Integral):
Fixes small, long-term errors (like drift).
Higher I helps maintain a steady angle, but too much can cause slow oscillation or instability.
D (Derivative):
Reacts to how fast the error is changing (rate of movement).
D helps reduce overshoot and smoothens response. Too high can cause motor noise or heat.
Why PID Matters in FPV
Tuning your PID values correctly:
- Improves flight smoothness and control.
- Helps with accurate tracking in racing or cinematic footage.
- Reduces prop wash, wobble, or bounce-back after sharp movements.
How to Tune Pid?
Most FPV pilots use Betaflight Configurator or similar software to tune PID settings. Modern firmware like Betaflight also includes presets and filters, so you often only need minor PID adjustments unless you’re chasing perfect performance.
The Process Simplified
For most drones, especially smaller ones, applying Betaflight’s PID presets suffices. These presets not only fine-tune your drone’s response but also adjust rates, affecting how quickly your drone reacts to stick movements. Our focus will be on applying these presets to enhance flight performance, especially for a 3 and 1/2 inch drone.
Step-by-Step Configuration
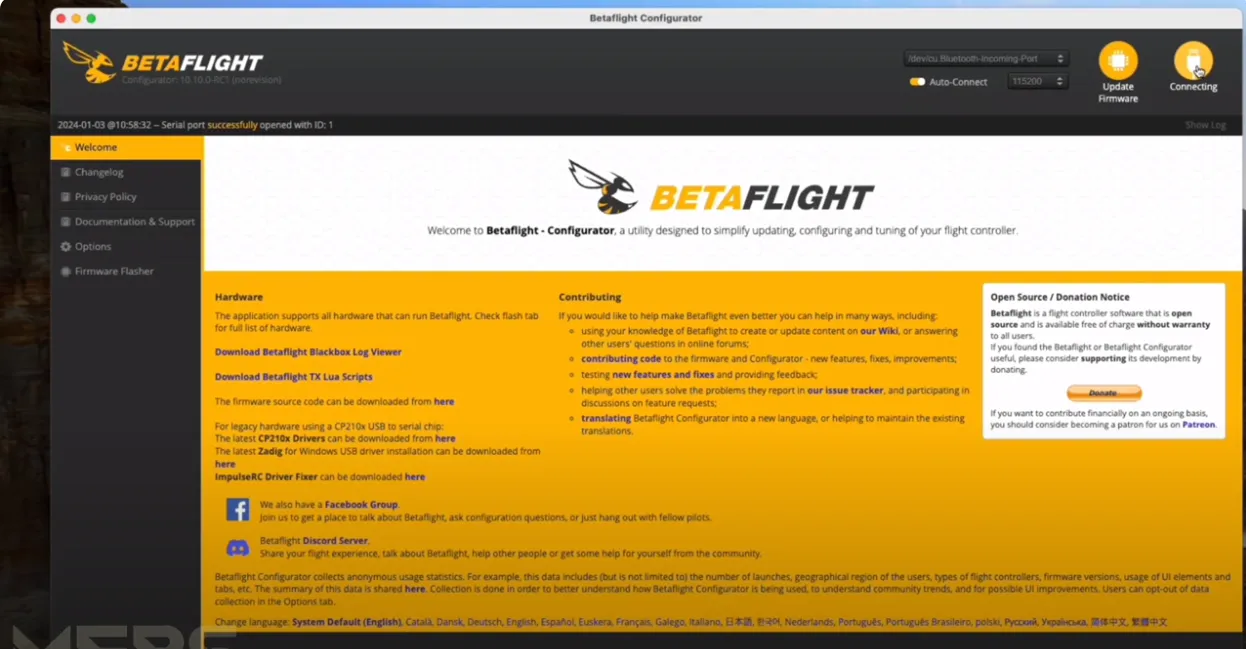
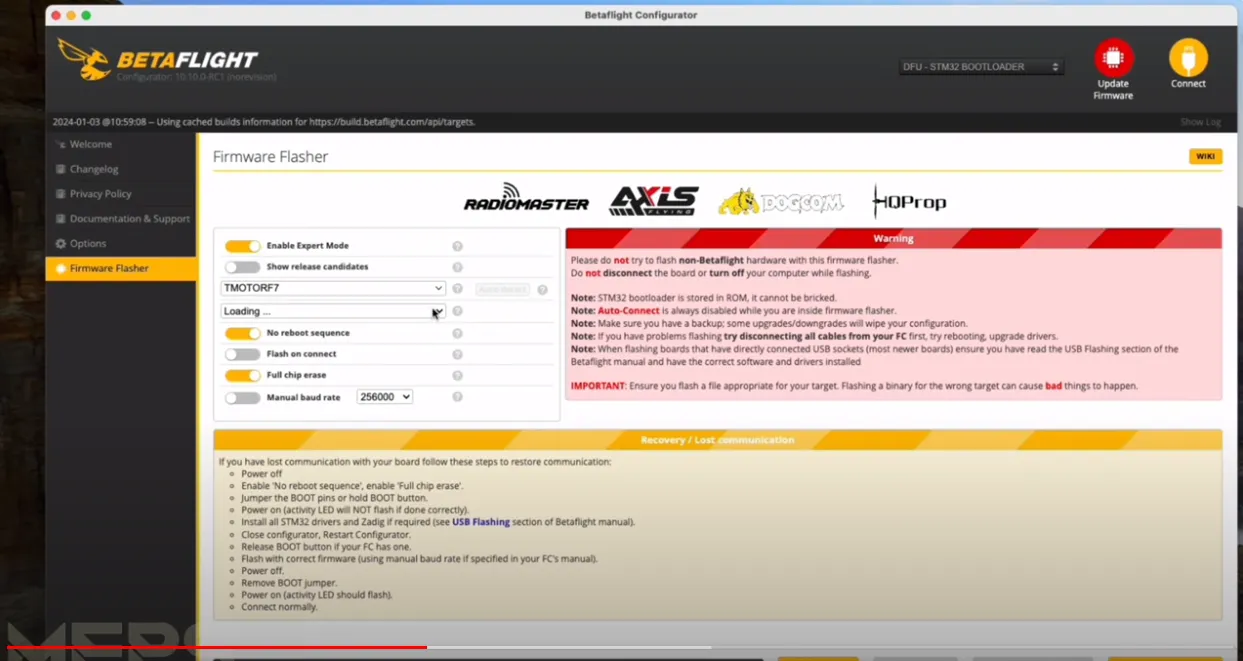
Let’s connect to the flight controller and start with a fresh install by entering the bootloader mode.
We’ll select the appropriate firmware, in this case, for the T-motor F7, and proceed to flash it. It is a versatile choice compatible with various builds. After selecting the necessary firmware and configurations, including protocols like Crossfire and options like dshot Telemetry, we proceed to flash the firmware, setting the stage for further customization.
Applying Custom Defaults and Calibration
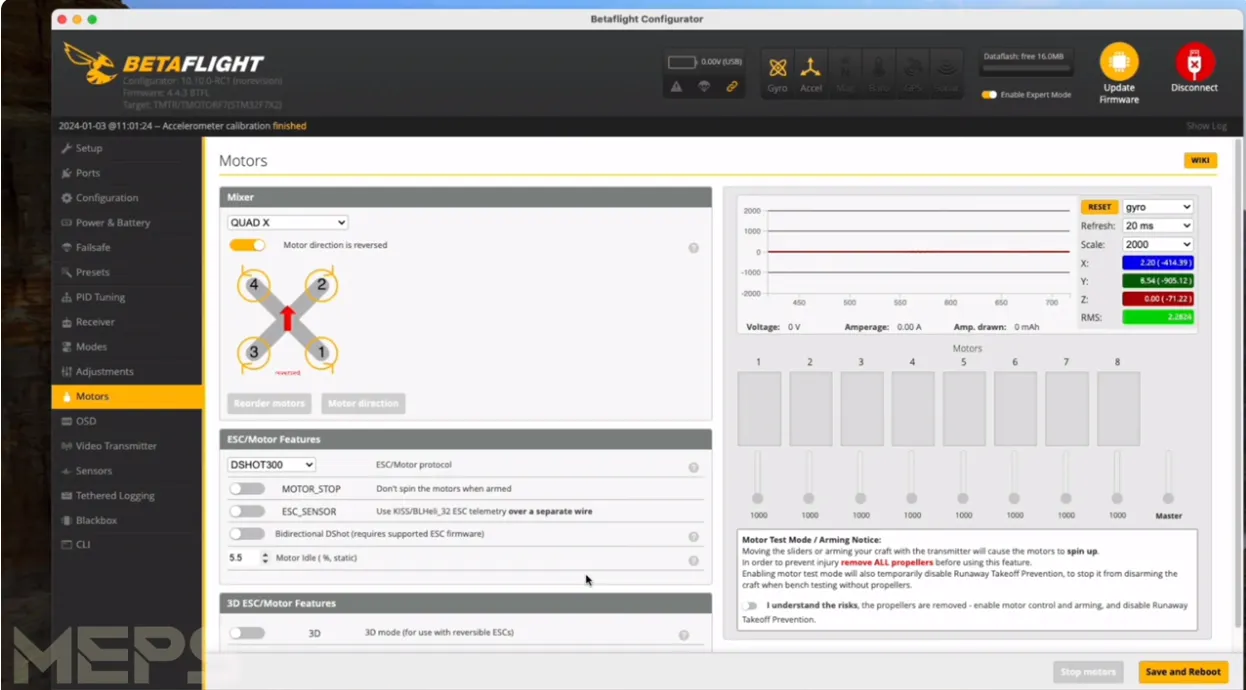
Once the firmware is updated, we apply custom defaults and calibrate the accelerometer, ensuring the drone understands its orientation. Additionally, we configure motor outputs, choosing directions and protocols suited to our build, and setting up dshot 300 for smooth, reliable performance.
Utilizing PID Presets for Enhanced Performance
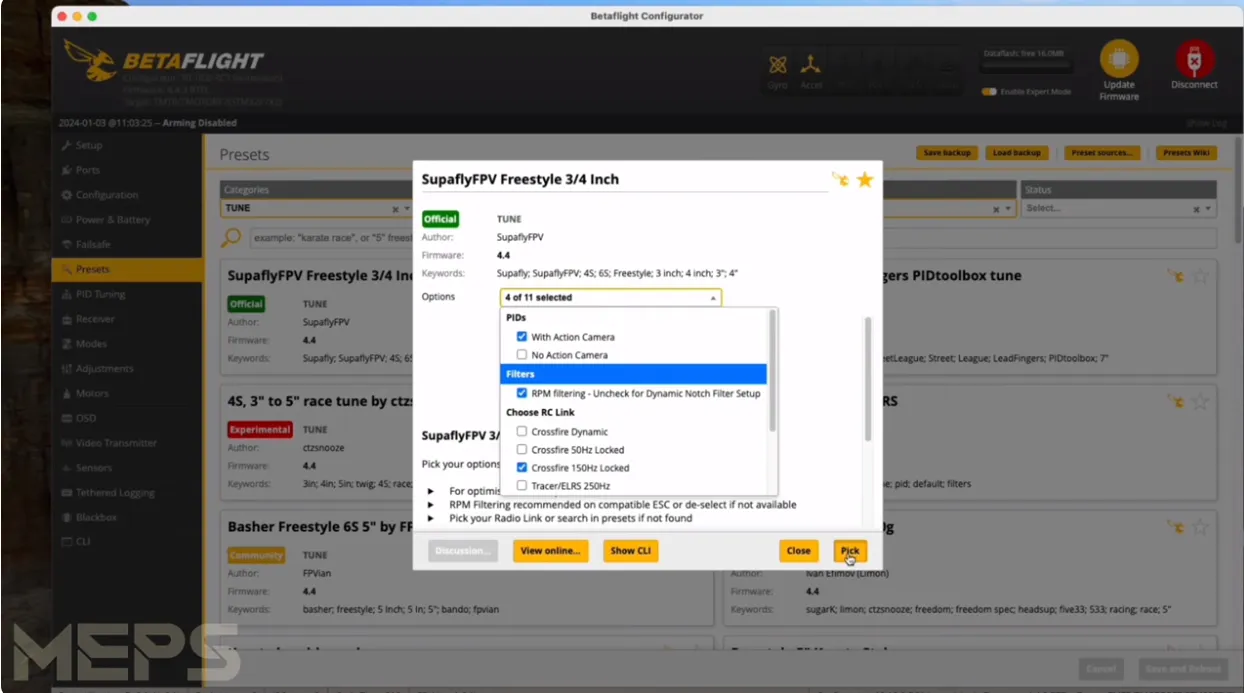
The focal point of our process is applying PID presets, a step that dramatically simplifies tuning. For our 3.5-inch drone, we select a Superfly FPV freestyle preset, an official tune that aligns well with our build’s characteristics. This preset not only adjusts PID values but also sets up RPM filtering and rate profiles, tailoring the drone’s responsiveness to our flying style.

Finalizing Settings
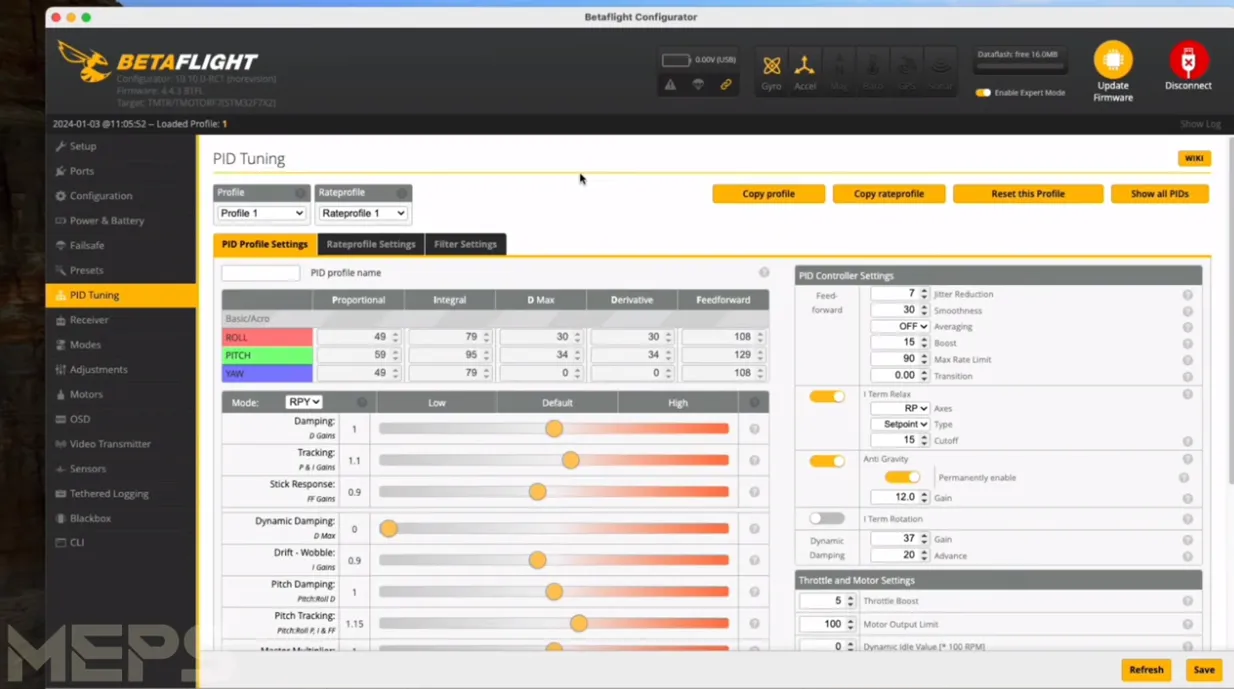
After saving and rebooting, your PID settings should reflect the changes made by the preset. It’s essential to review these adjustments, especially if you’re repurposing components from different builds, as I did with an F722 mini originally from a 5-inch build.
Conclusion and Flight Testing
With the PID preset applied, your drone is almost ready to hit the skies. Remember, the true test comes with flight. Adjustments to rates may be necessary based on your flying style and preferences. Thanks to MEPS team for their support, and to you, our viewers, for following along. Now, it’s time to fly and enjoy the fruits of your labor. Happy flying, and take care!
Remember, this guide is a starting point. PID tuning and rate adjustments can further refine your drone’s performance, ensuring a flying experience tailored to your preferences.