
Getting your FPV drone connected to Betaflight is only the first step. Even if your radio binds successfully, you can still run into problems such as no stick input, incorrect switch behavior, missing flight modes, or no VTX control.
This guide explains how to set up your receiver, radio channels, basic VTX control, and flight modes in Betaflight the right way. It is written for FPV pilots who want a clean first setup and fewer troubleshooting headaches later.
A quad that binds is not automatically a quad that is ready to fly.
Step-by-Step Configuration for Receiver, VTX, and Radio Controller Channels
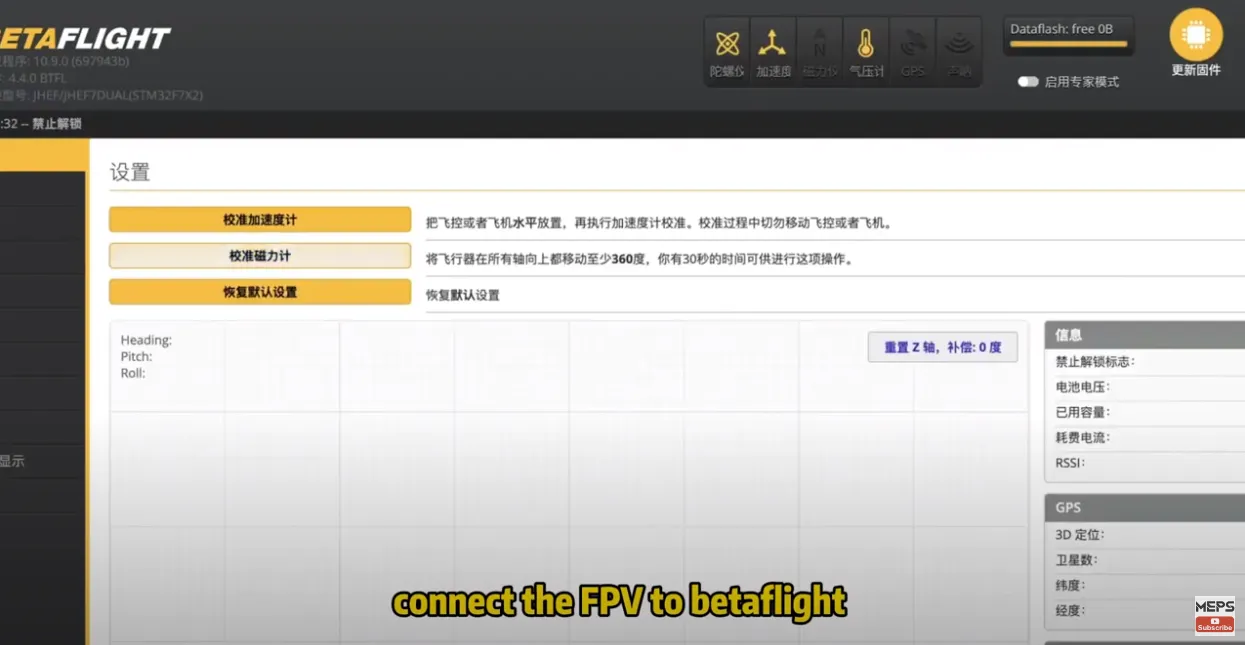
Before You Start
Remove your propellers before plugging the quad into Betaflight. Do not test arming, Turtle Mode, or motor behavior with props installed.
Before making changes, confirm:
- what receiver protocol you are using: ELRS, Crossfire, SBUS, or IBUS
- which UART your receiver is wired to
- which pad your VTX control wire is connected to, if you want Betaflight VTX control
Step 1: Identify Your Receiver Type
Most FPV drones use one of these receiver types:
- UART-based serial receivers such as ELRS, Crossfire, SBUS, or IBUS
- built-in SPI receivers, which are common on some whoops and AIO flight controllers
This matters because UART-based receivers require setup in the Ports tab, while SPI receivers usually do not follow the same process.
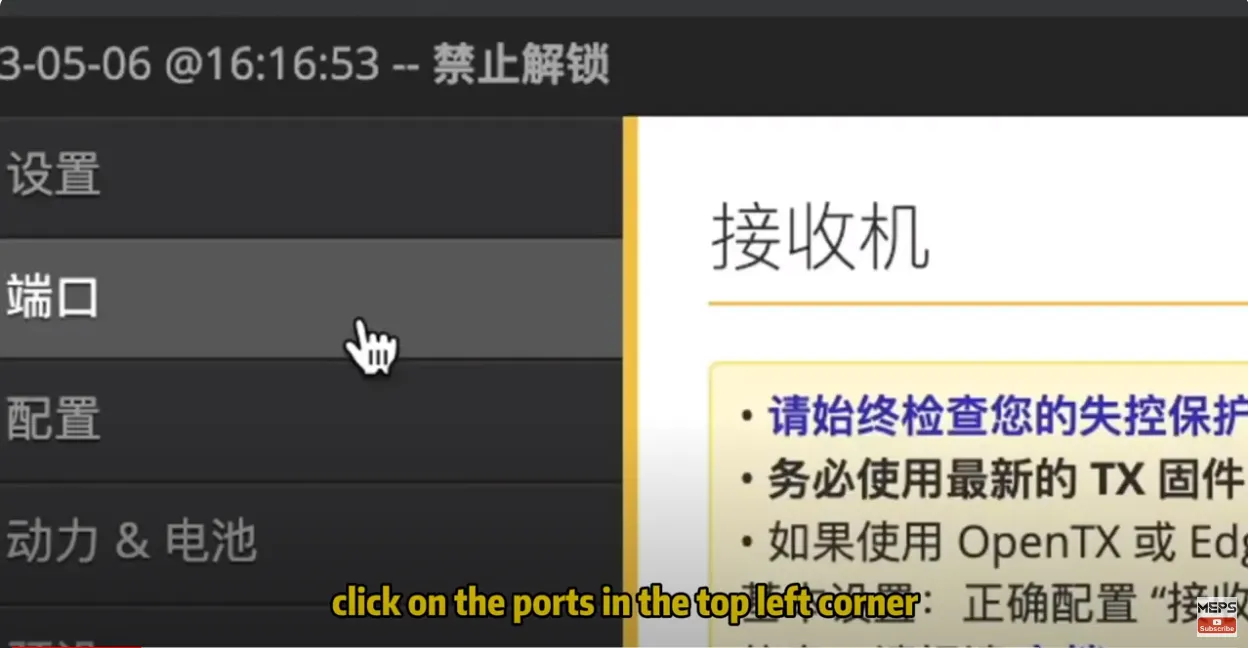
Step 2: Enable the Correct Receiver UART
If your receiver is connected through a UART, open the Ports tab in Betaflight Configurator.
Find the UART connected to the receiver signal wire, then enable Serial RX for that UART and save.
A few important notes:
- enable Serial RX only on the correct receiver UART
- do not enable it randomly on several ports
- do not confuse receiver setup with MSP
If the wrong UART is selected, your receiver may bind but still show no stick response in Betaflight.
Step 3: Select the Correct Receiver Protocol
Next, go to the receiver configuration section.
For most modern ELRS and TBS Crossfire systems:
- set the receiver mode to Serial-based receiver
- set the serial receiver provider to CRSF
For other systems:
- FrSky receivers may use SBUS
- FlySky receivers may use IBUS
If you are using ELRS, Betaflight typically still uses CRSF as the provider.
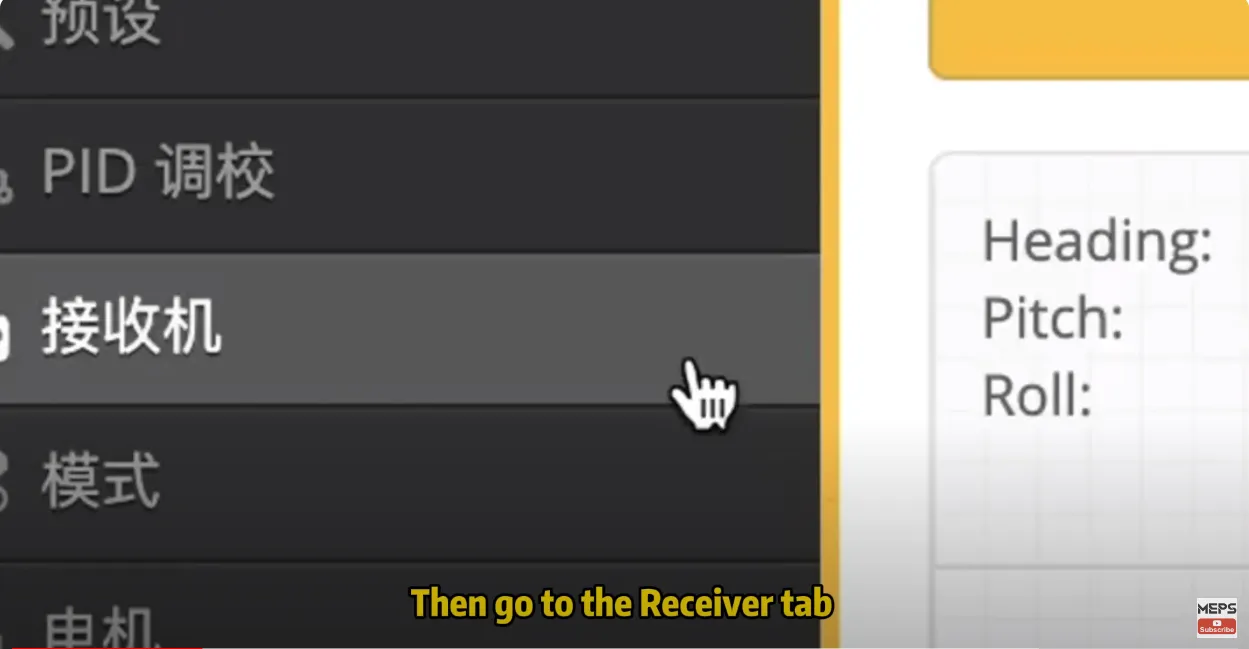
Step 4: Check Stick Response and Channel Mapping
Open the Receiver tab and power on your radio. Move the sticks and AUX switches. You should see smooth movement in throttle, roll, pitch, yaw, and AUX channels.
Now verify the following.
Correct channel order:
If the controls are mixed up, your radio channel map may not match Betaflight. The most common channel orders are:
- AETR1234
- TAER1234
Correct center values:
Roll, pitch, and yaw should sit close to 1500 when centered.
Correct endpoints:
The channels should reach close to 1000 at minimum and 2000 at maximum.
If your endpoints are off, your quad may not arm properly or your switches may not trigger reliably.
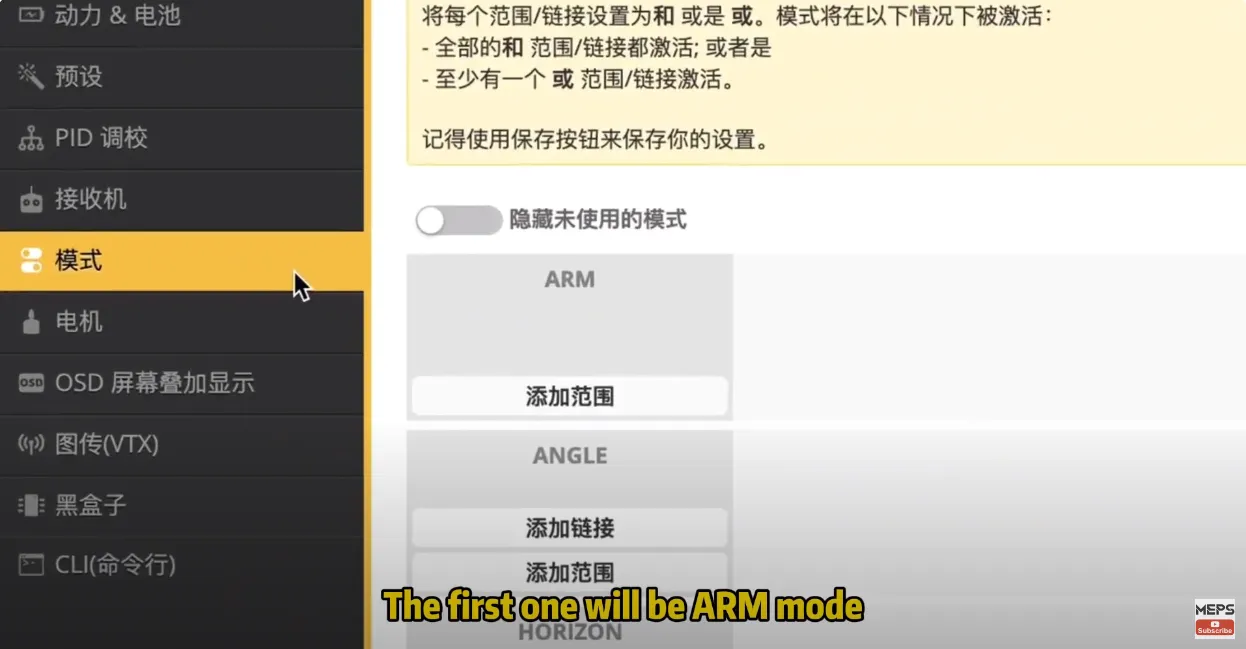
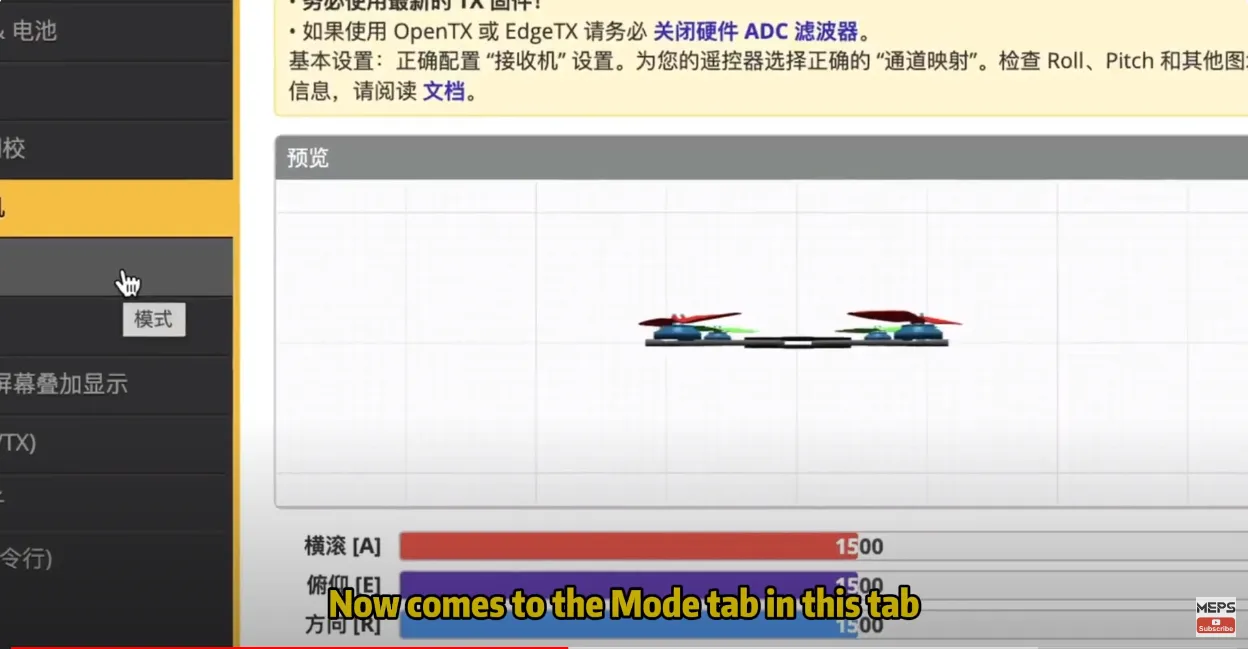
Step 5: Set Up Arm and Flight Modes
Go to the Modes tab and assign the switches you want to use.
At a minimum, most pilots should set:
- ARM
- BEEPER
If you are new to FPV, you can also set:
- ANGLE
- HORIZON
In practice:
- ANGLE is useful for beginner flying and basic recovery
- HORIZON is optional and often used as a transitional mode
- ACRO is usually the default mode whenever Angle and Horizon are off
Make sure the yellow marker moves clearly inside each mode’s activation range.
Step 6: Use Turtle Mode With Care
Flip Over After Crash, also called Turtle Mode, can help turn the quad upright after a crash.
Only enable and use it when:
- your build supports DShot
- the quad is upside down in a safe area
- the props are not jammed
- no one is close to the quad
If a motor is blocked, Turtle Mode can overheat the motor or ESC very quickly.
Step 7: Set Up VTX Control in Betaflight
If you want to change VTX channel or power from Betaflight or your OSD, you need more than just power and video wiring.
For an analog VTX, the basic wiring usually includes:
- camera video to the FC video input
- FC video output to the VTX video input
- VTX control wire to a TX pad on a free UART
- correct power and ground wiring
Then in Betaflight:
- open the Ports tab
- find the UART used by the VTX control wire
- under Peripherals, select VTX (SmartAudio) or IRC Tramp
- save and reboot
If your setup requires a VTX Table, make sure the correct table is loaded. Without it, VTX control may not work properly even if the wiring is correct.
For digital FPV systems such as DJI, Walksnail, or HDZero, the setup is different. Depending on the hardware, you may also need to configure MSP, OSD, or DisplayPort-related settings.
Step 8: Troubleshoot No-Video Problems Separately
One of the most common mistakes is assuming that no FPV image is caused by receiver setup.
A successful radio bind only confirms that the control link is working. It does not confirm that the video system is working.
If you have no video, check:
- camera power
- VTX power
- camera video wire
- FC video out to VTX video in
- installed antenna
- matching channel and band between goggles and VTX
- pit mode status
- SmartAudio or Tramp wiring
- correct VTX table
For digital FPV systems, also verify the correct MSP or OSD-related wiring and UART settings for your hardware.
Step 9: Final Safety Checks Before Flight
Before installing props and flying, confirm all of the following:
- receiver inputs are correct
- switches trigger the correct modes
- failsafe is configured
- motor order is correct
- motor direction is correct
- props are installed in the proper direction
- VTX antenna is attached
Always do the first setup and bench checks with the props removed.
Common Mistakes
Here are the mistakes that cause the most confusion:
- Serial RX enabled on the wrong UART
- wrong receiver protocol selected
- channel map not matching the radio
- endpoints not reaching 1000 and 2000
- assuming Acro needs its own dedicated mode
- treating no-video issues like receiver issues
- SmartAudio wired to the wrong pad
- forgetting the VTX table
- testing with props installed
FAQ
Why does my receiver bind but show no stick movement in Betaflight?
If your receiver binds but nothing moves in the Receiver tab, the most common causes are the wrong UART, Serial RX not enabled, or the wrong receiver protocol selected. On most ELRS and Crossfire builds, the receiver mode should be set to Serial-based receiver and the provider should be set to CRSF.
Why are my switches not activating modes correctly?
Check AUX channel mapping, switch output range, and whether the yellow marker enters the configured range in the Modes tab.
Why is there no stick input in Betaflight even though my radio is on?
No stick input in Betaflight usually means the flight controller is not reading the receiver correctly. Check the receiver wiring, confirm the correct UART is being used, enable Serial RX on that UART, and verify that the right receiver protocol is selected in Betaflight.
What receiver protocol should I use for ELRS in Betaflight?
For ELRS, Betaflight usually uses CRSF as the serial receiver provider. Even though the radio system is ExpressLRS, the Betaflight receiver protocol setting is typically still CRSF.
Why do I have no FPV video after binding my radio?
Binding your radio only confirms that the control link is working. It does not confirm that the video system is working. If you have no FPV image, check camera power, VTX power, video wiring, antenna installation, channel match, pit mode, and VTX control settings separately from receiver setup.
Do I need to set Acro mode in Betaflight?
Usually no. Acro is typically the default when self-leveling modes are off.
How do I set up ARM mode in Betaflight?
Go to the Modes tab, add ARM, assign it to an AUX switch, and set the activation range so the yellow marker clearly enters the selected zone when the switch is turned on. Always test ARM behavior with props removed.
Do I need to set up Acro mode in Betaflight?
Usually no. Acro is generally the default behavior when self-leveling modes such as ANGLE and HORIZON are not active. Most pilots do not create a dedicated switch range for Acro.
Should beginners use Angle mode or Horizon mode?
Most beginners find ANGLE mode easier because it fully self-levels the quad. HORIZON mode is optional and can help some pilots transition toward Acro, but many experienced FPV pilots skip it and go from Angle directly into Acro practice.
How do I set up VTX control in Betaflight?
To control your analog VTX through Betaflight, the VTX control wire must be connected to a free TX pad on the flight controller. In the Ports tab, select VTX (SmartAudio) or IRC Tramp under Peripherals for that UART. Some setups also require a correct VTX Table.
Conclusion
A clean Betaflight setup starts with the correct UART, the correct receiver protocol, and proper stick verification. From there, add flight modes, confirm AUX behavior, and set up VTX control separately.
If your quad binds but still does not behave correctly, do not guess. Check the receiver system and the video system one at a time. That approach is faster, safer, and much closer to how experienced FPV pilots troubleshoot real builds.