
Choosing the right digital FPV system can be overwhelming. With the release of the DJI O4 Air Unit, many pilots are asking: Is it compatible with my drone? Is it better than O3? Is the installation process complicated?
Without a clear understanding, you might waste money on incompatible gear or struggle with poor installation, leading to latency issues, weak signals, or even permanent damage to your components.
This complete guide walks you through everything you need to know before buying the DJI O4, including key upgrades, compatibility checks, wiring diagrams, setup steps, and pro tips. Whether you’re a beginner or pro, this article ensures you unlock the full potential of DJI’s latest FPV system. We’ll compare DJI O4 to other popular systems like Walksnail and HDZero, including setup visuals, and embed hands-on tips to help you make the most of your DJI O4 air unit.
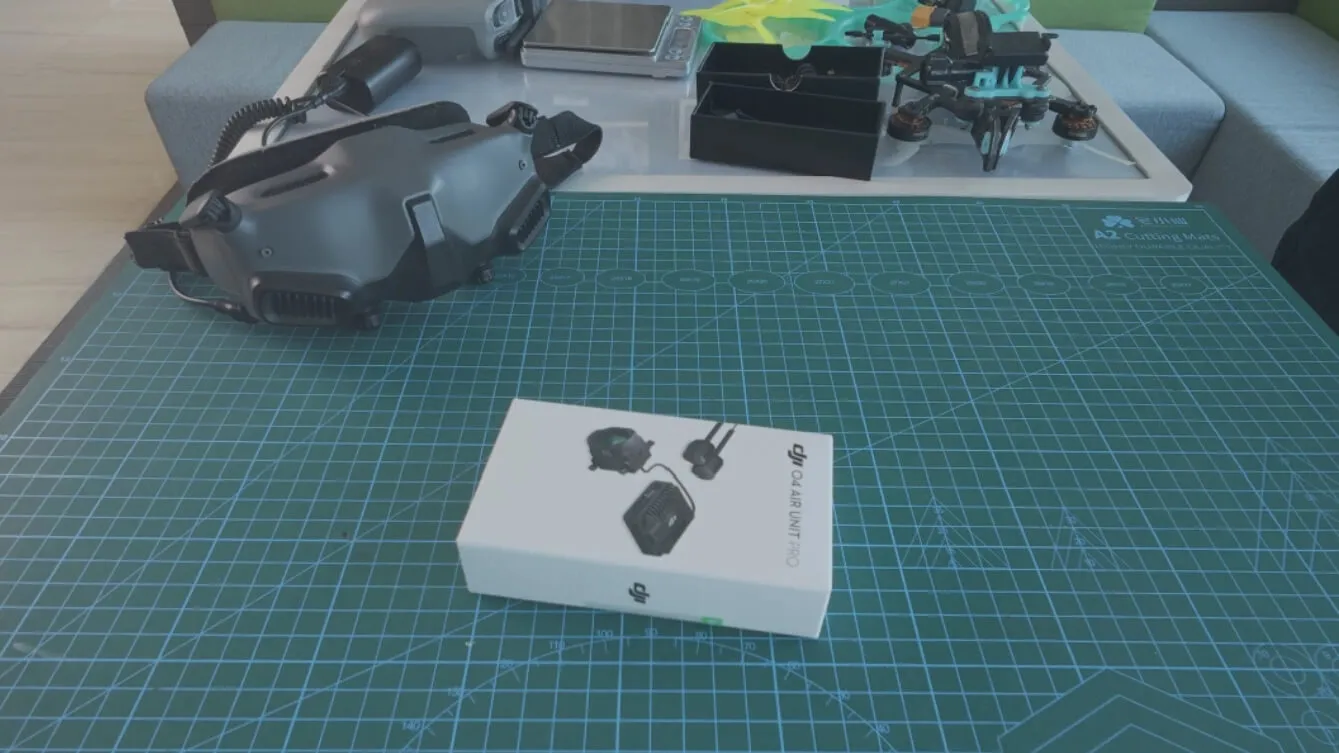
What’s New in the DJI O4 Air Unit Pro?
The DJI O4 Air Unit is more than just an upgrade—it’s a generational leap in image quality, latency, and usability.
| Feature | DJI O4 Air Unit Pro | DJI O3 Air Unit |
| Max Bitrate | 150 Mbps | 130 Mbps |
| Video Codec | H.265 10-bit 4:2:2 | H.265 8-bit 4:2:0 |
| Latency (Low-Latency Mode) | ~17 ms | ~20 ms |
| Bandwidth | 60 MHz | 40 MHz |
| Native Gyro Flow | Yes | No |
| Max Output Power | 1200 mW (FCC) | 1000 mW (FCC) |
The DJI O4 brings better performance in low light, richer color, and less video breakup—ideal for both freestyle pilots and cinematic creators.
This system is ideal for:
- Freestyle pilots wanting better image clarity and ultra-low latency
- Cinematic flyers needing onboard 4K recording and Gyroflow support
- Long-range explorers demand stronger video penetration and signal reliability
If you’re still using analog or DJI O3, the DJI O4 air unit is a worthy future-proof investment—but only if your gear supports it.
Pre-Purchase Checklist: What to Know Before Buying
Before you commit to the DJI O4 Air Unit, it’s crucial to ensure your current setup can fully support it. Here’s a comprehensive checklist to help you avoid surprises and make the most of your upgrade.
Goggles Compatibility
| Goggles | Compatible? | Notes |
| DJI Goggles N3 | Full | Full feature support |
| DJI Goggles 2 | (partial) | Requires firmware v01.05.00+, no 150Mbps or 10-bit |
| DJI Goggles Integra | (partial) | Similar to Goggles 2 |
| DJI FPV Goggles V2 | Not supported | Not compatible |
Firmware Tip: Use Assistant 2 (Consumer FPV) to update firmware to v01.02.0200+ for stable Canvas Mode and full OSD.
Flight Controller Requirements
The DJI O4 Air Unit requires basic but specific connections to your FC (Flight Controller):
- Minimum UART: 1x UART (TX/RX) for MSP + optional SBUS for DJI RC 3.
- Power: Can run directly from VBAT (up to 6S) or via a clean 9V/5V BEC.
- OSD Support: Requires Betaflight 4.5+ or iNav 7.1+ for Canvas Mode and full overlay.
- VTX Tables: Not required for DJI O4, but OSD elements still need to be enabled in Configurator.
Frame & Mounting Considerations
Check your drone’s physical layout to ensure a clean and secure install:
- Mounting pattern: 20×20 mm(standard stack) or 25.5×25.5 mm (whoop-style stack; M2 screws).
- Clearance: Needs ~21 mm vertical space with airflow.
- Antennas exit at the rear—ideal for freestyle frames with TPU mounts.
Regional Firmware & Power Output
- The DJI O4 Air Unit can deliver up to 1200 mW output power in FCC regions.
- In CE or other limited regions, power output is restricted unless you activate FCC mode via DJI Assistant 2 (requires login).
Important: This affects your video link strength, range, and ability to fly in challenging environments.
Compatibility with Older DJI Systems
- O4 Air Unit is not backward compatible with DJI O3 or older goggles (V2).
- You cannot mix O3 and O4 Air Units on the same goggles or controller.
- No cross-support between O3 and O4 ecosystems.
DJI O4 vs Other Digital FPV Systems
As the digital FPV landscape continues to evolve, DJI O4 is positioned as a premium system, but how does it stack up against other leading competitors like Walksnail Avatar HD and HDZero?
Latency & Transmission Quality
Latency is one of the most critical performance factors for FPV pilots. Here’s a head-to-head comparison of the lowest measured end-to-end latency across systems:
| System | Approx. Latency | Codec | Max Bitrate | Resolution |
| DJI O4 | ~17 ms | H.265 (10-bit) | 150 Mbps | 4K @ 60fps |
| DJI O3 | ~20 ms | H.265 (8-bit) | 130 Mbps | 4K @ 60fps |
| Walksnail Avatar HD V3 | ~22 ms | H.265 | 100 Mbps | 1080p @ 120fps |
| HDZero Freestyle V4 | ~16 ms | MJPEG (analog-like) | N/A | 720p @ 60fps |
Winner: DJI O4, for its balance of ultra-low latency and cinematic 4K detail.
Note: While HDZero has the lowest latency, its video resolution and DVR quality trail far behind DJI.
Image Quality & Color Grading
- DJI O4 stands out with 10-bit 4:2:2 color encoding, allowing greater dynamic range and richer post-processing.
- Walksnail provides decent 1080p clarity, but lacks the depth and resolution of DJI’s 4K native recording.
- HDZero focuses on latency, not fidelity—it’s popular in racing but lacks the cinematic appeal.
Visual Creators & Cinematic Flyers will appreciate DJI O4’s sharper shadows, cleaner sky gradients, and less banding in HDR scenes.
Ecosystem Compatibility
| Feature | DJI O4 | Walksnail V3 | HDZero |
| Plug & Play Integration | Excellent | Requires adapter boards | Separate VTX, VRX |
| Built-in DVR | 4K | 1080p | (External needed) |
| Gyroflow Log Support | Yes | Limited | No |
| Remote Compatibility | DJI RC 3 | Avatar HD remote | ELRS only |
DJI O4 offers the smoothest out-of-box user experience, especially when paired with Goggles 4 and DJI RC 3. If you want a “just works” digital setup with minimal configuration, O4 is unmatched.
Signal Stability & Penetration
- DJI O4 uses 60 MHz wideband and up to 1200 mW output (FCC), offering significantly better wall penetration and long-range clarity than Walksnail or HDZero.
- Walksnail still suffers from random breakups in trees or buildings due to narrower bandwidth and lower output power.
- HDZero’s 5.8 GHz analog-like signal tends to degrade gracefully, but lacks the visual crispness of O4 or even Avatar.
Which One Should You Choose?
- Choose DJI O4 if you prioritize 4K recording, minimal setup, excellent range, and pro-grade footage.
- Choose Walksnail V3 if you’re on a tighter budget but want decent digital performance.
- Choose HDZero if latency is your #1 concern (e.g., racing) and image quality is secondary.
Explore the DJI O4 Air Unit at MEPSKING and experience FPV flying.
Step-by-Step: How to Install the DJI O4 Air Unit
Installing the DJI O4 Air Unit can feel intimidating, especially if you’re new to digital FPV setups. However, with the right tools and preparation, the process is surprisingly straightforward. Below is a detailed guide that walks you through each step, from preparation to successful installation, ensuring optimal performance and clean signal output.
What You’ll Need:
Before you begin, make sure you have the following:
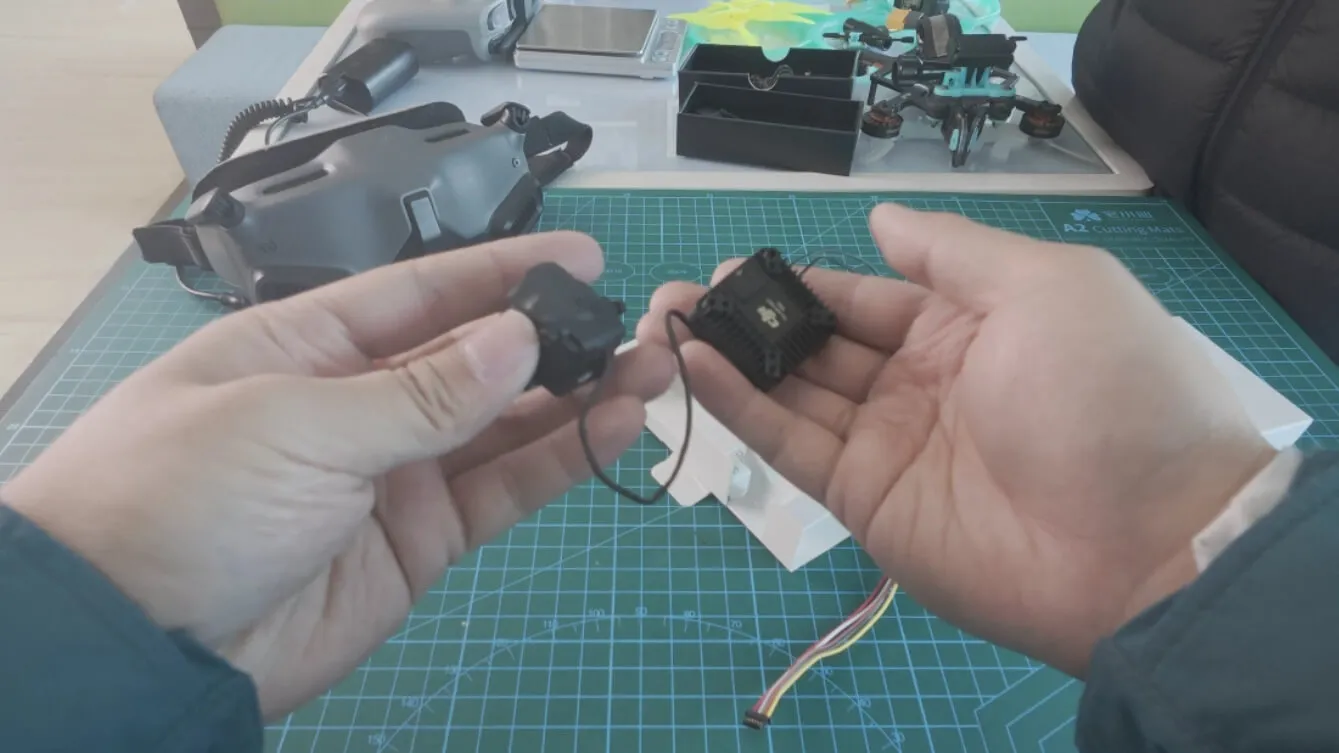
- DJI O4 Air Unit (including camera, transmission module, antennas)
- Soldering tools (iron, flux, solder wire)
- Heat shrink tubing or electrical tape
- PH connector cables (if applicable)
- Your drone’s flight controller (FC) manual
- DJI Assistant 2 software (for activation)
Pro Tip: Always double-check the voltage requirements—O4 typically runs on 3S–6S, but verify with your flight controller specs.
Step 1: Plan Your Layout
Before soldering, identify where the air unit and camera will be mounted. The O4 system comes with a slightly larger transmission module than its predecessor, so ensure there’s enough space in your frame, particularly if you’re building a 5″ freestyle or racing quad.
Considerations:
- Keep the air unit away from heat sources (like ESCs).
- Route the antennas away from the carbon fiber to minimize signal interference.
- Choose a position for the camera that doesn’t obstruct your field of view.
Step 2: Wire the Air Unit to Your Flight Controller
Use the provided wiring harness or direct solder pads if supported by your FC.
Typical wiring:
- Red = Power (7.4V–17.6V)
- Black = Ground
- Yellow = TX (to FC RX pad)
- Green = RX (to FC TX pad)
Note: The DJI O4 system uses standard UART communication. Make sure Betaflight or INAV is configured to recognize the port (set to “MSP”).
Step 3: Mount the Air Unit and Camera
Secure the air unit using the included double-sided tape or custom 3D printed mounts. Mount the camera in your frame’s dedicated camera cage with M2 screws.
Mounting Tips:
- Ensure good airflow around the air unit for heat dissipation.
- Avoid pinching the coaxial cable connecting the camera.
Step 4: Attach and Position the Antennas
The DJI O4 system uses dual antennas for improved signal strength. Connect the MMCX antennas securely, then route them to the rear arms or other open areas of the frame.
- Use zip ties and heat shrink to hold the antennas in place.
- Keep the antennas as vertical and spaced apart as possible.
Step 5: Activate and Update Firmware
After physical installation, connect the air unit to your PC via USB-C and launch DJI Assistant 2 (Consumer Drone Series).
- Activate the unit if it’s brand new.
- Update the firmware to the latest stable version.
- Link it with your DJI Goggles and transmitter (RC 2 or others).
Warning: Do not skip the activation step—your system won’t function until it’s officially registered and updated.
Step 6: Test and Configure in Betaflight
After completing the installation:
- Connect your quad to Betaflight Configurator.
- Enable MSP DisplayPort on the UART you used.
- Power on the air unit and verify that you get an image in your goggles.
- Adjust camera tilt and OSD settings for your flying style.
Common Issues and Troubleshooting
| Issue | Cause | Solution |
| No image in goggles | Improper UART settings | Reassign UART and enable MSP |
| Unit overheating | Poor ventilation | Add heatsinks or increase airflow |
| Gimbal jitter | Loose camera screws | Tighten mounting hardware |
Final Checks Before First Flight
- The camera angle is properly set
- Antennas are secured and positioned
- Image transmission is stable and clear
- Firmware is up to date
- All screws and connectors are tight
Installing the DJI O4 Air Unit properly is key to unlocking its powerful low-latency video transmission and high-quality HD feed. With this step-by-step approach, your FPV build will be optimized for stunning flights—whether you’re cruising cinematic lines or pushing freestyle limits.
FAQs:
Q1: Can I use DJI O3 Goggles with the DJI O4 Air Unit?
A: No. Only DJI Goggles 2, Integra, or Goggles 4 are supported.
Q2: Can DJI O4 record sound?
A: No. Audio is recorded only on the goggles DVR.
Q3: What bitrate should I use?
A: 150 Mbps offers the best image, but 100 Mbps has more robust link quality for freestyle.
Q4: Is DJI O4 good for racing?
A: Not ideal. The system is better suited for cinematic or freestyle due to size and complexity.
Q5: Where to buy accessories or spare parts?
A: Find original DJI O4 antennas, cages, and cables on MEPSKING’s official store.
Final Thoughts
The DJI O4 Air Unit is a serious upgrade for digital FPV pilots who demand the best in clarity, range, and reliability. From lower latency to better image quality and built-in gyroflow support, it offers future-ready performance in a compact package.
Ready to upgrade your FPV setup?
Grab the DJI O4 Air Unit from MEPSKING with fast shipping and trusted support.